
HCE’s Backyard Magic: A Rehabbed Pool Turned Stunning Oasis!
- May 17, 2025
- 4 min read
HCE just finished an epic backyard makeover, and we’re thrilled to share the results. We took a used pool, gave it a total glow-up, and built a gorgeous setup with a patio, sidewalks, and smart drainage. The before and after photos are unreal, showing a plain yard transformed into a summer paradise. Here’s the story of how we made it happen—complete with a cool twist about the pool itself!

From Old to Wow: The Project Breakdown
This project was about creating a backyard that’s fun, practical, and looks amazing. We dug, filled, graded, and seeded, all while adding a rehabbed pool that’s now the star of the show. Check out what we did!
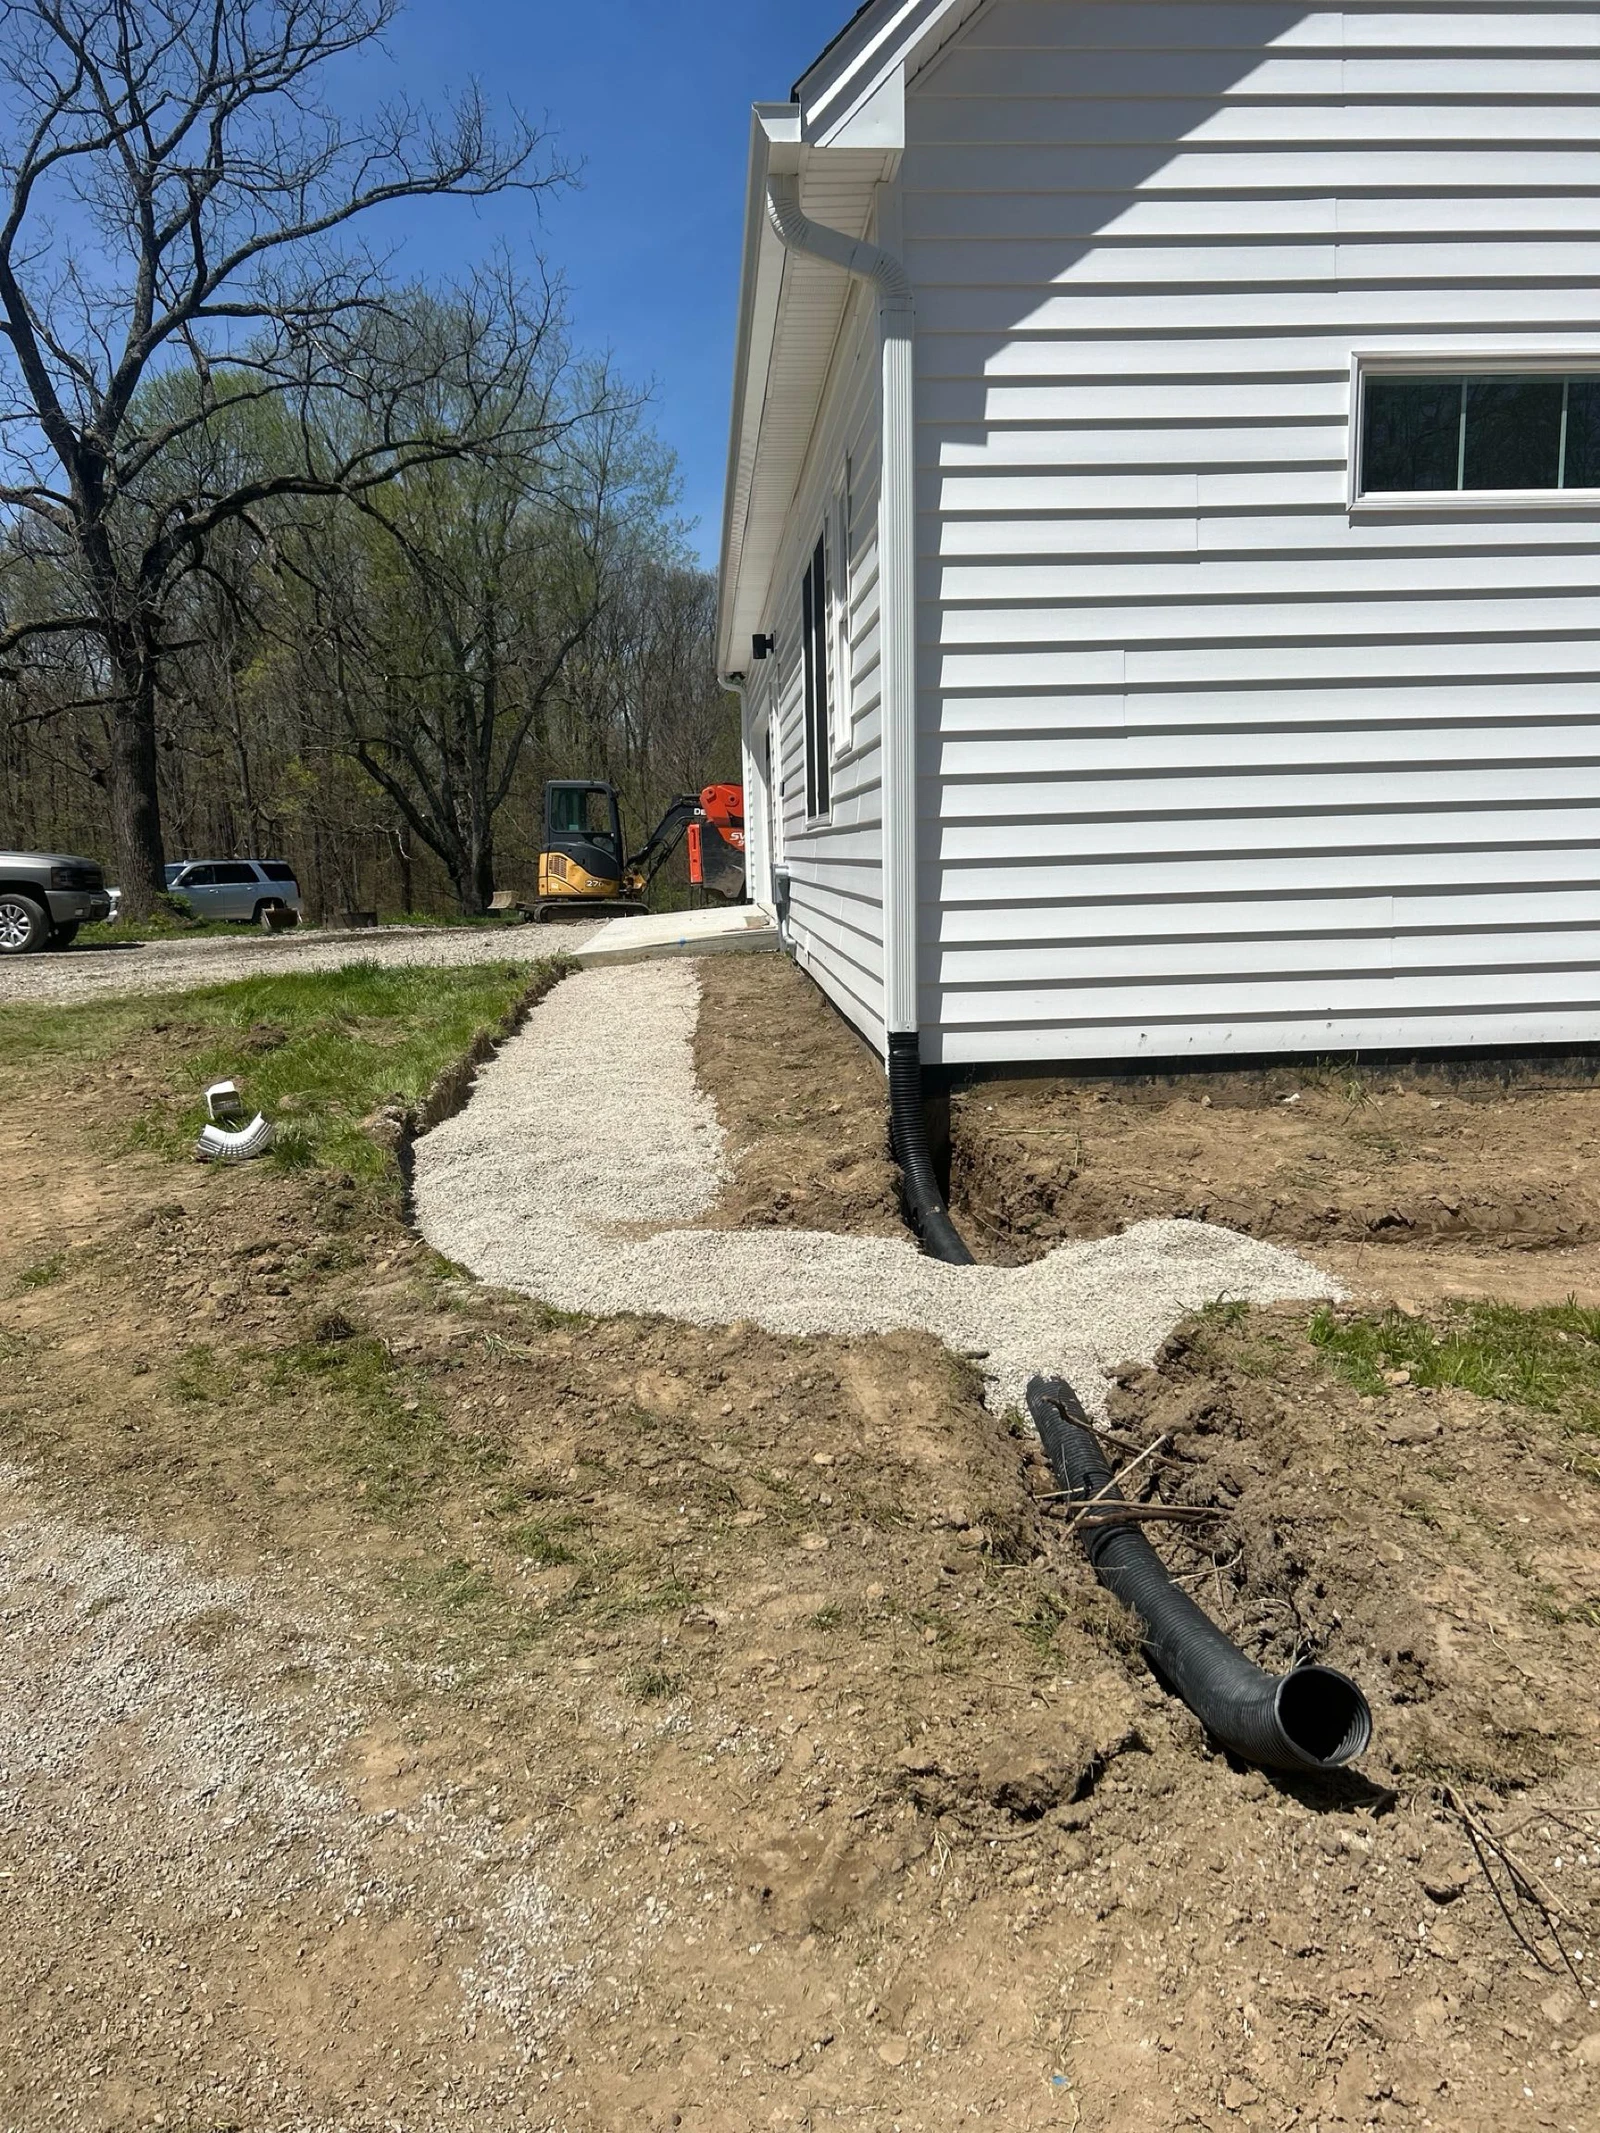
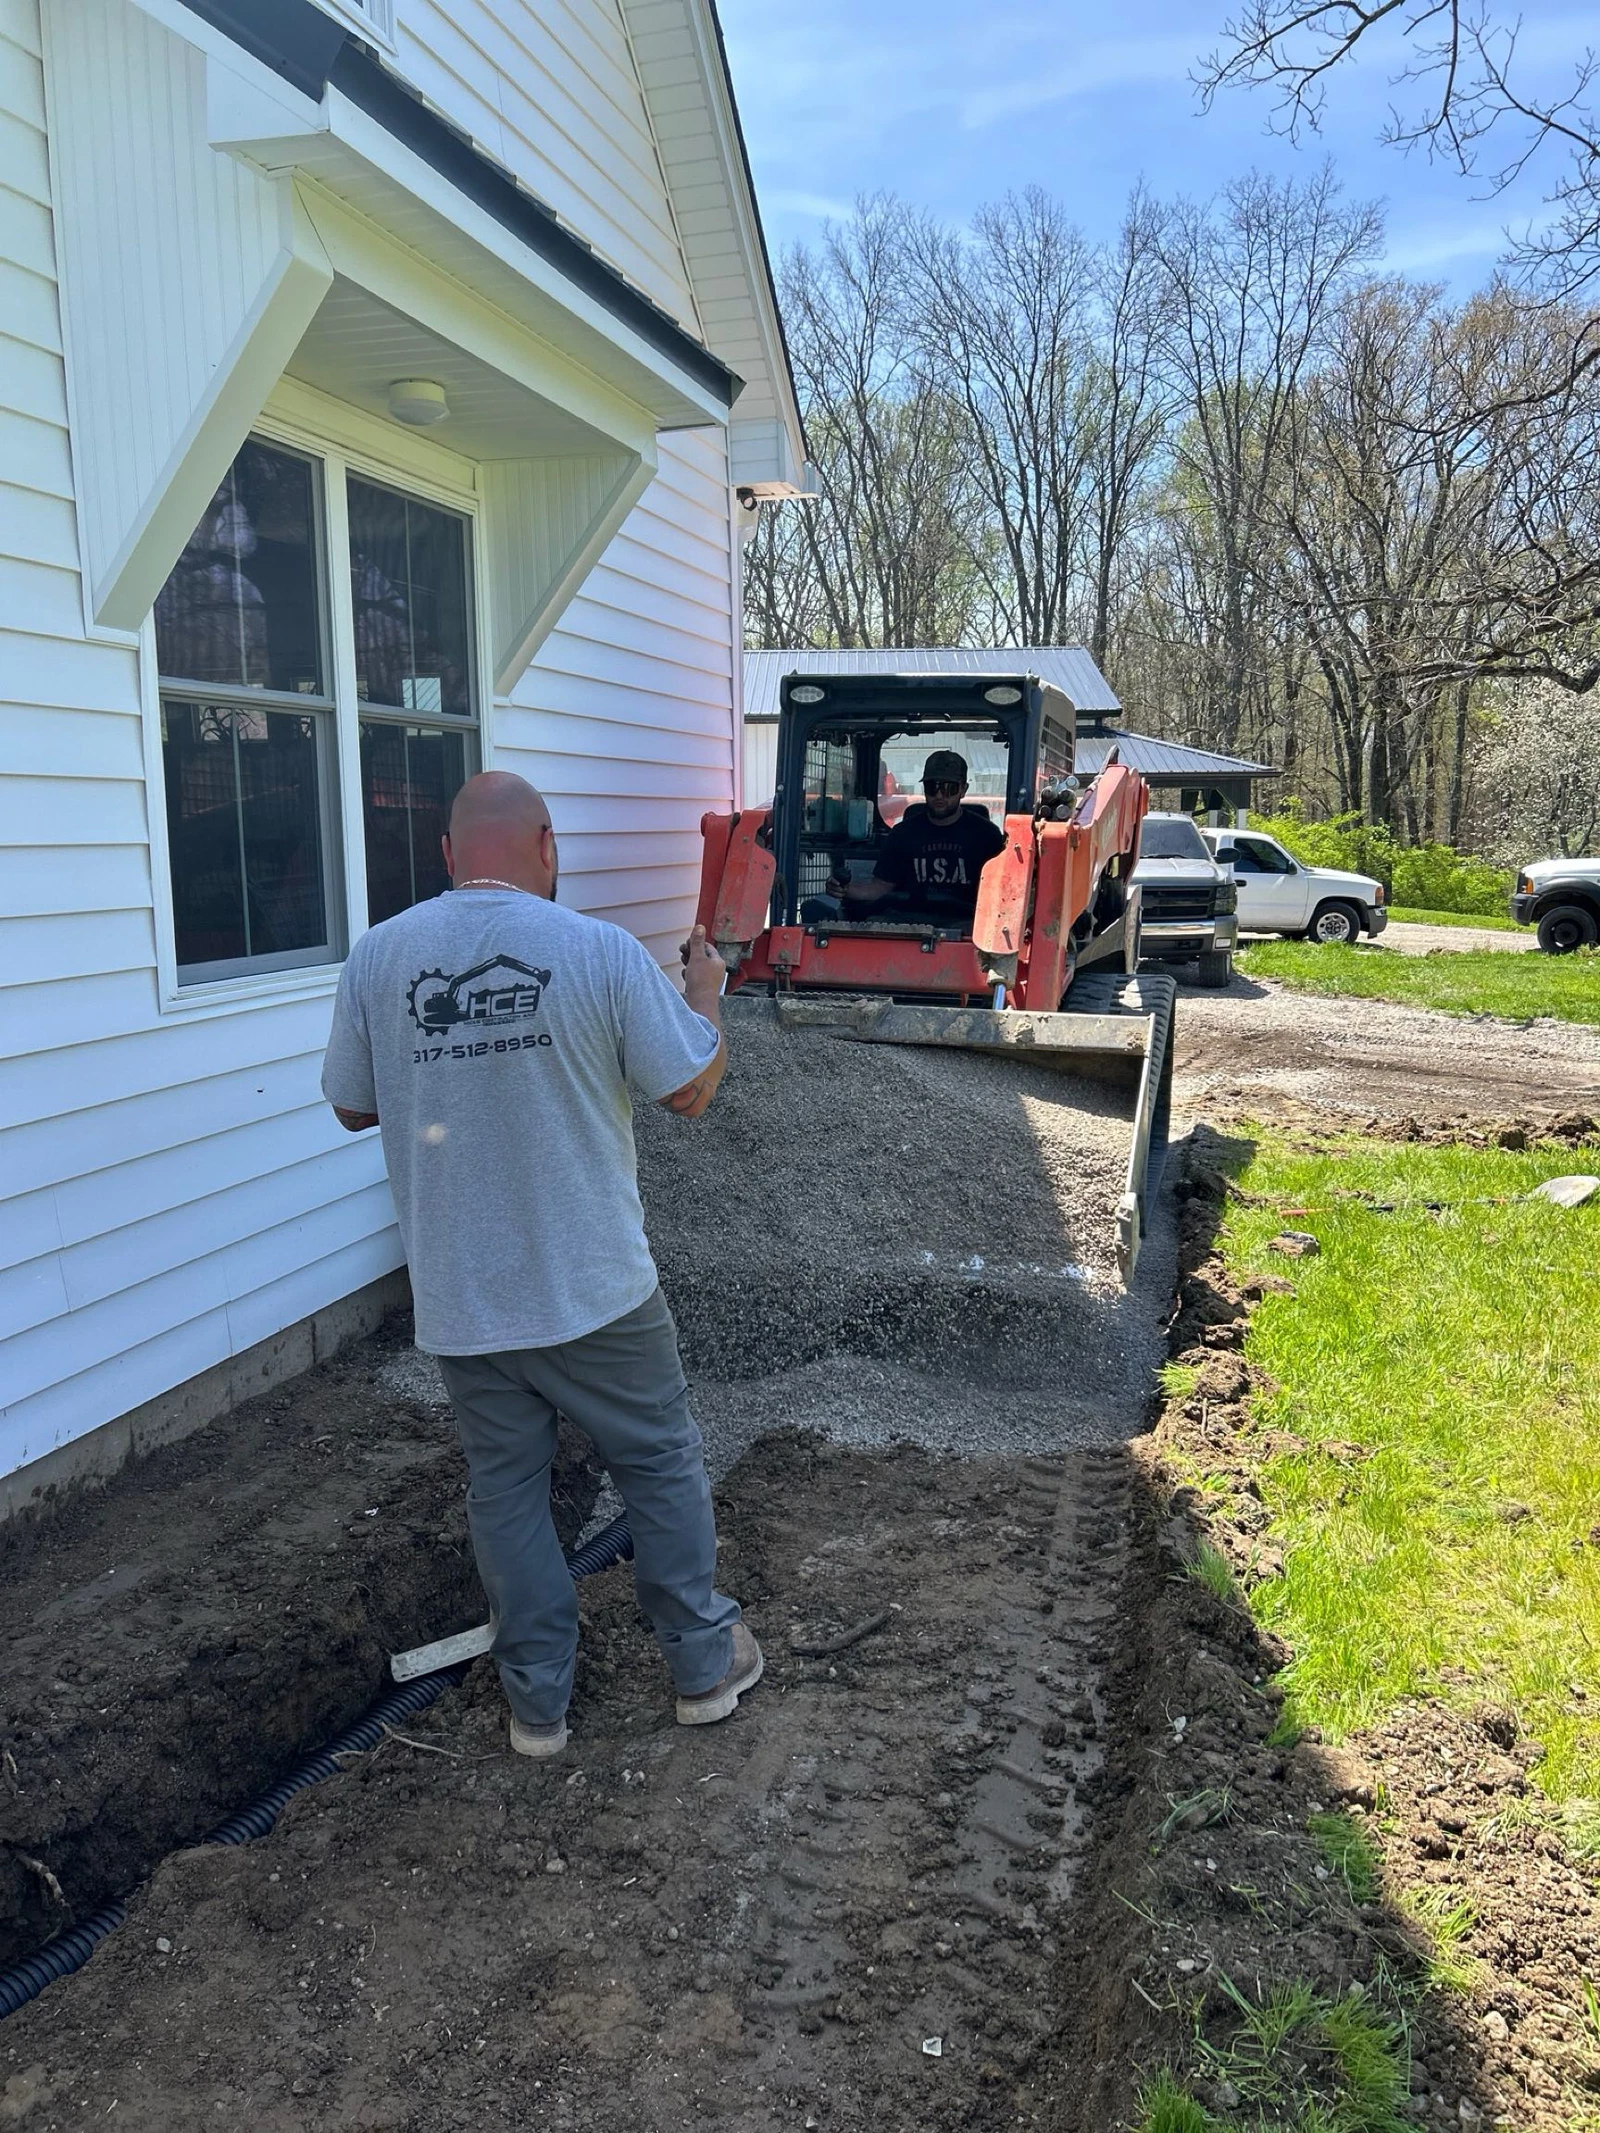
1. Smart Drainage to Keep Things Dry

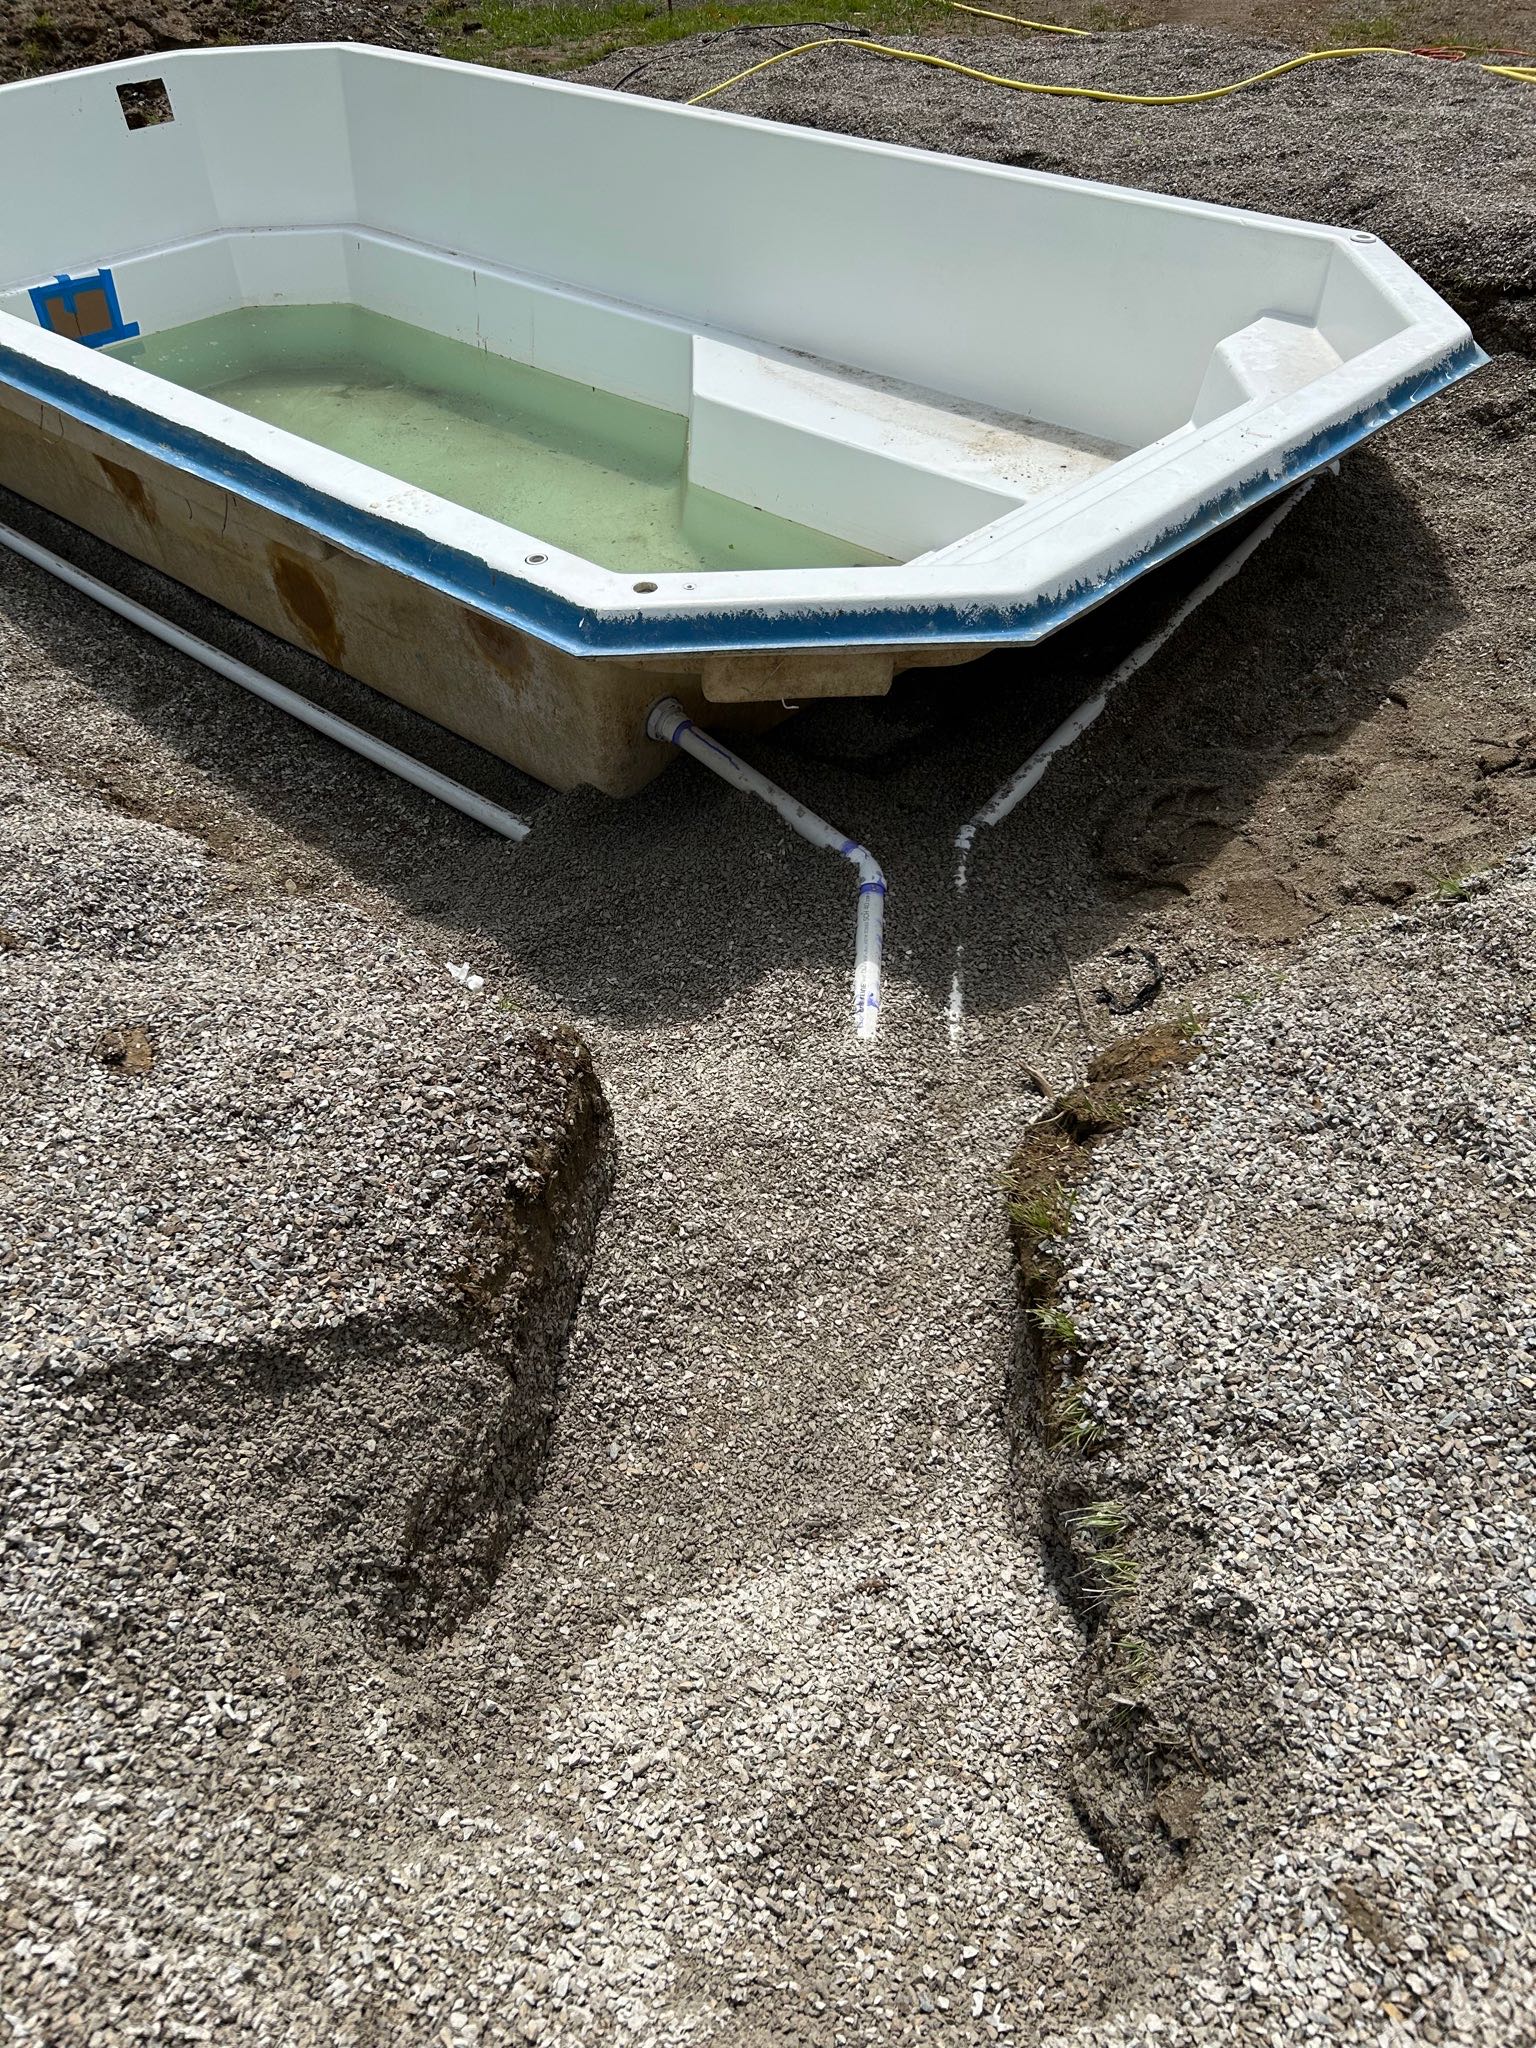
To keep the yard puddle-free, we installed 200 feet of drainage lines, all buried underground for a clean look. We added mitered drain grates on the ends of all the lines to whisk water away. Plus, we ran a drain line under the pool to make sure water stays far from the action.
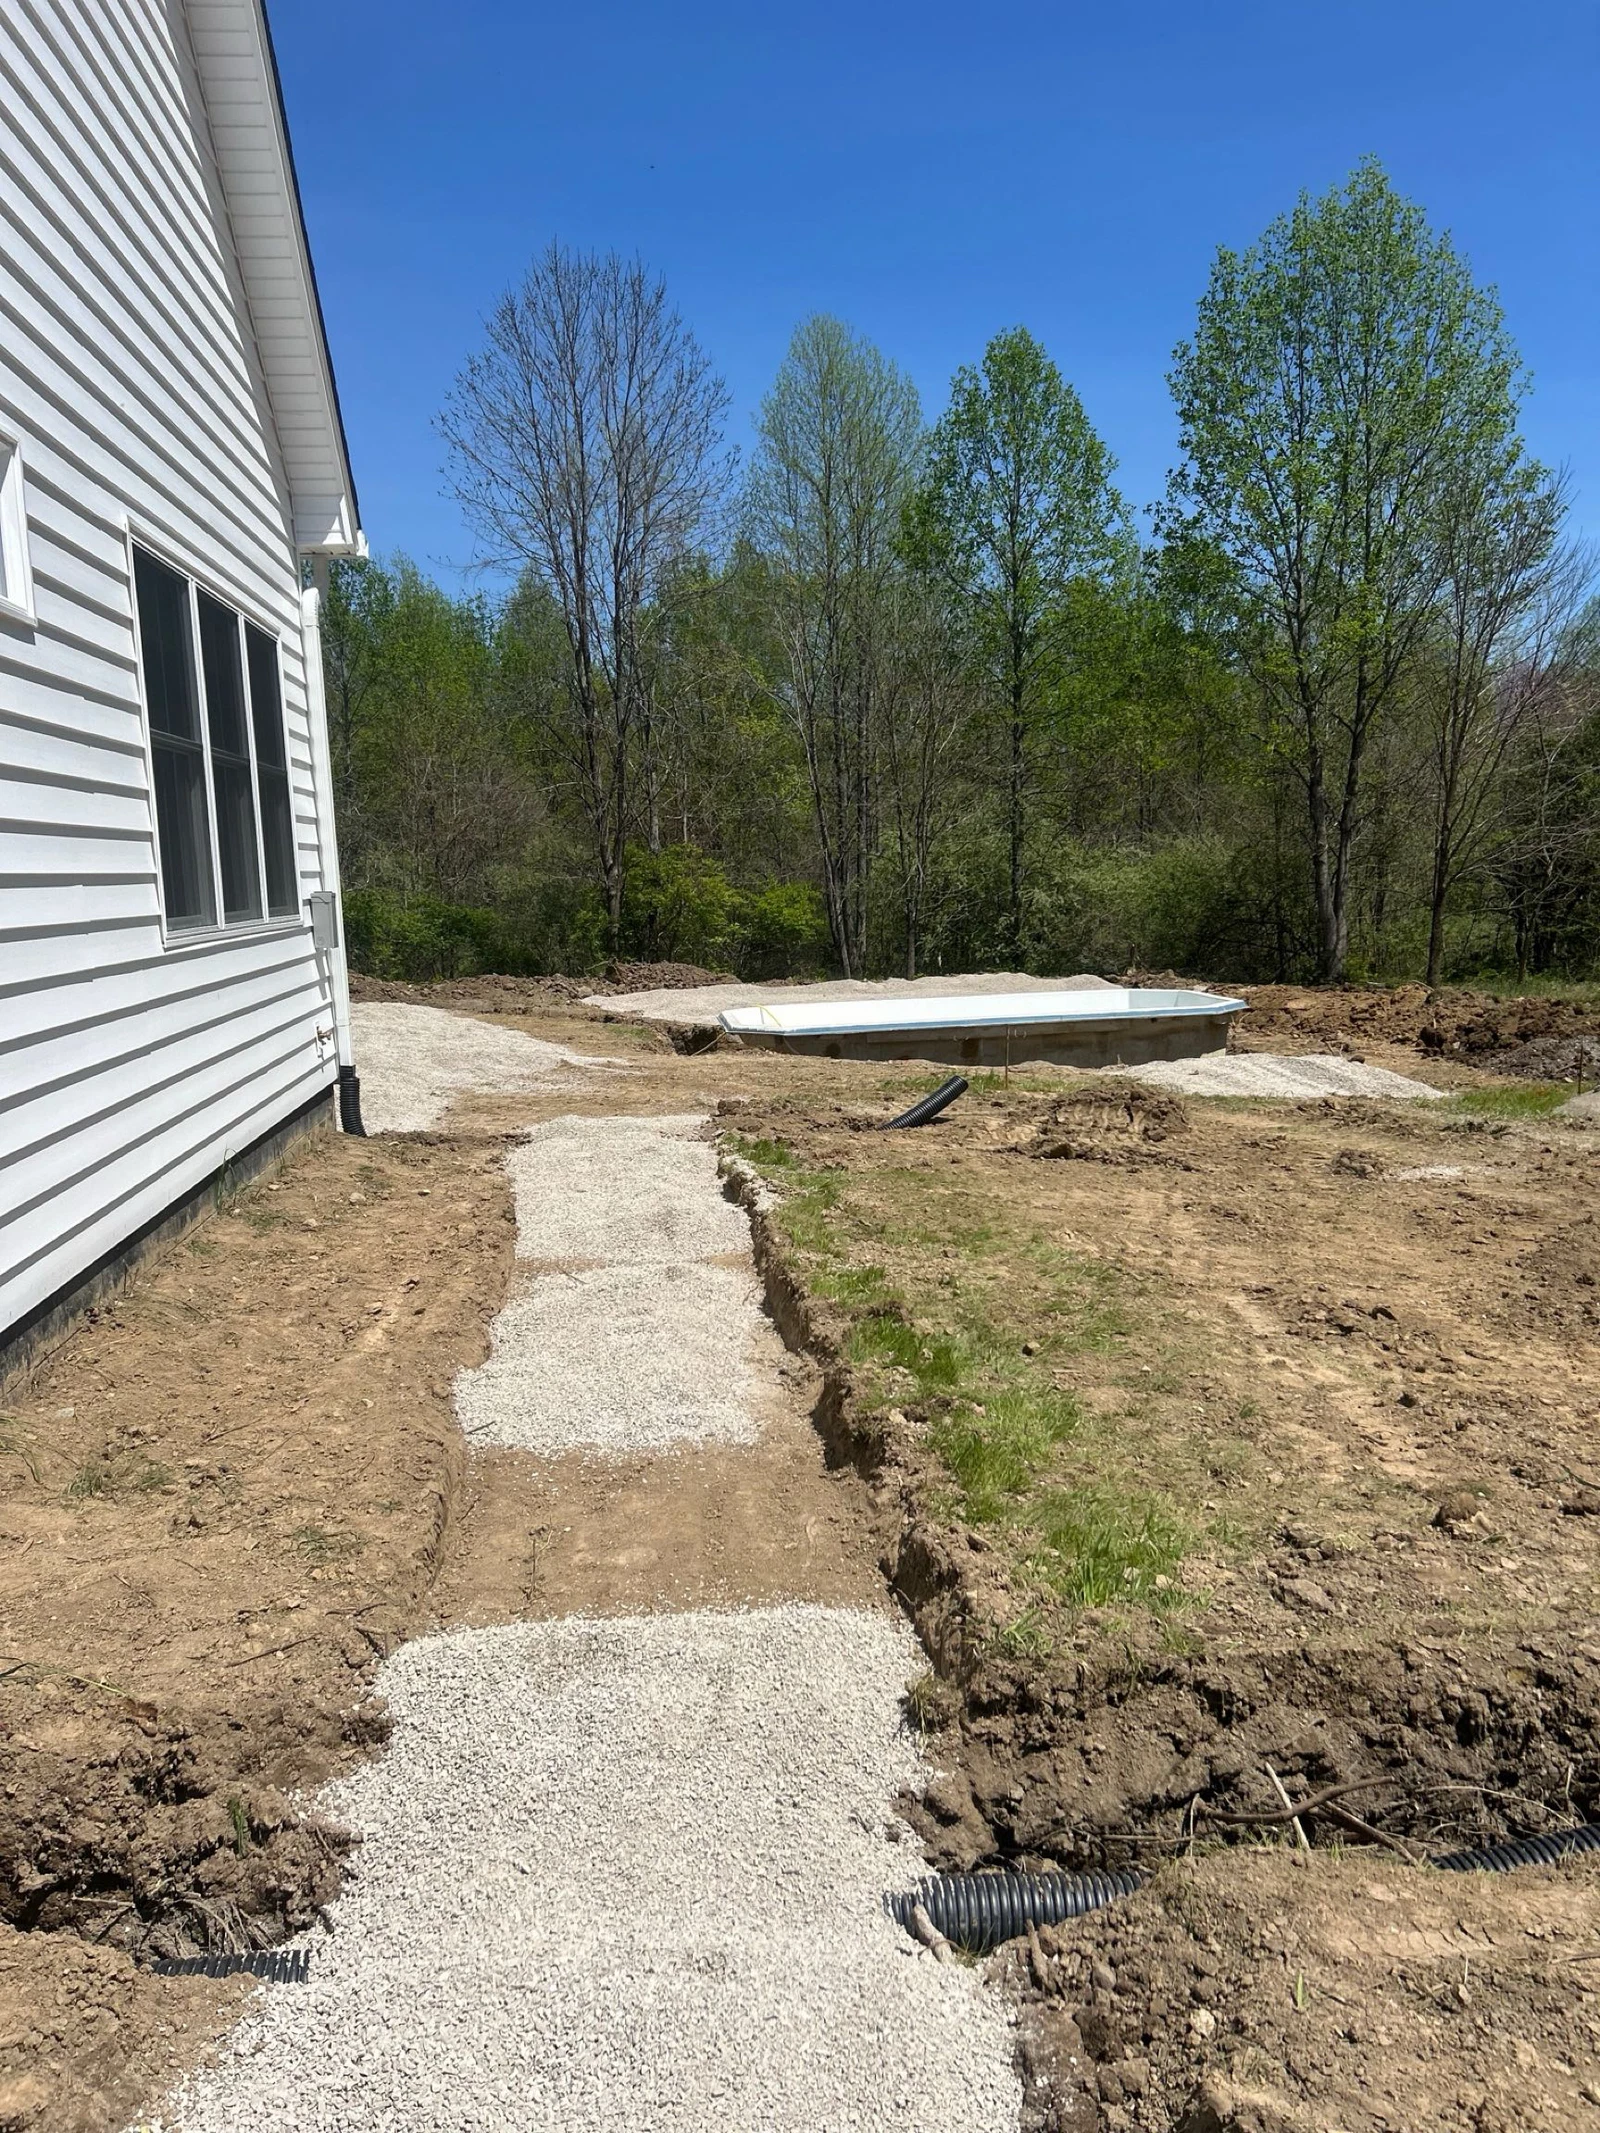
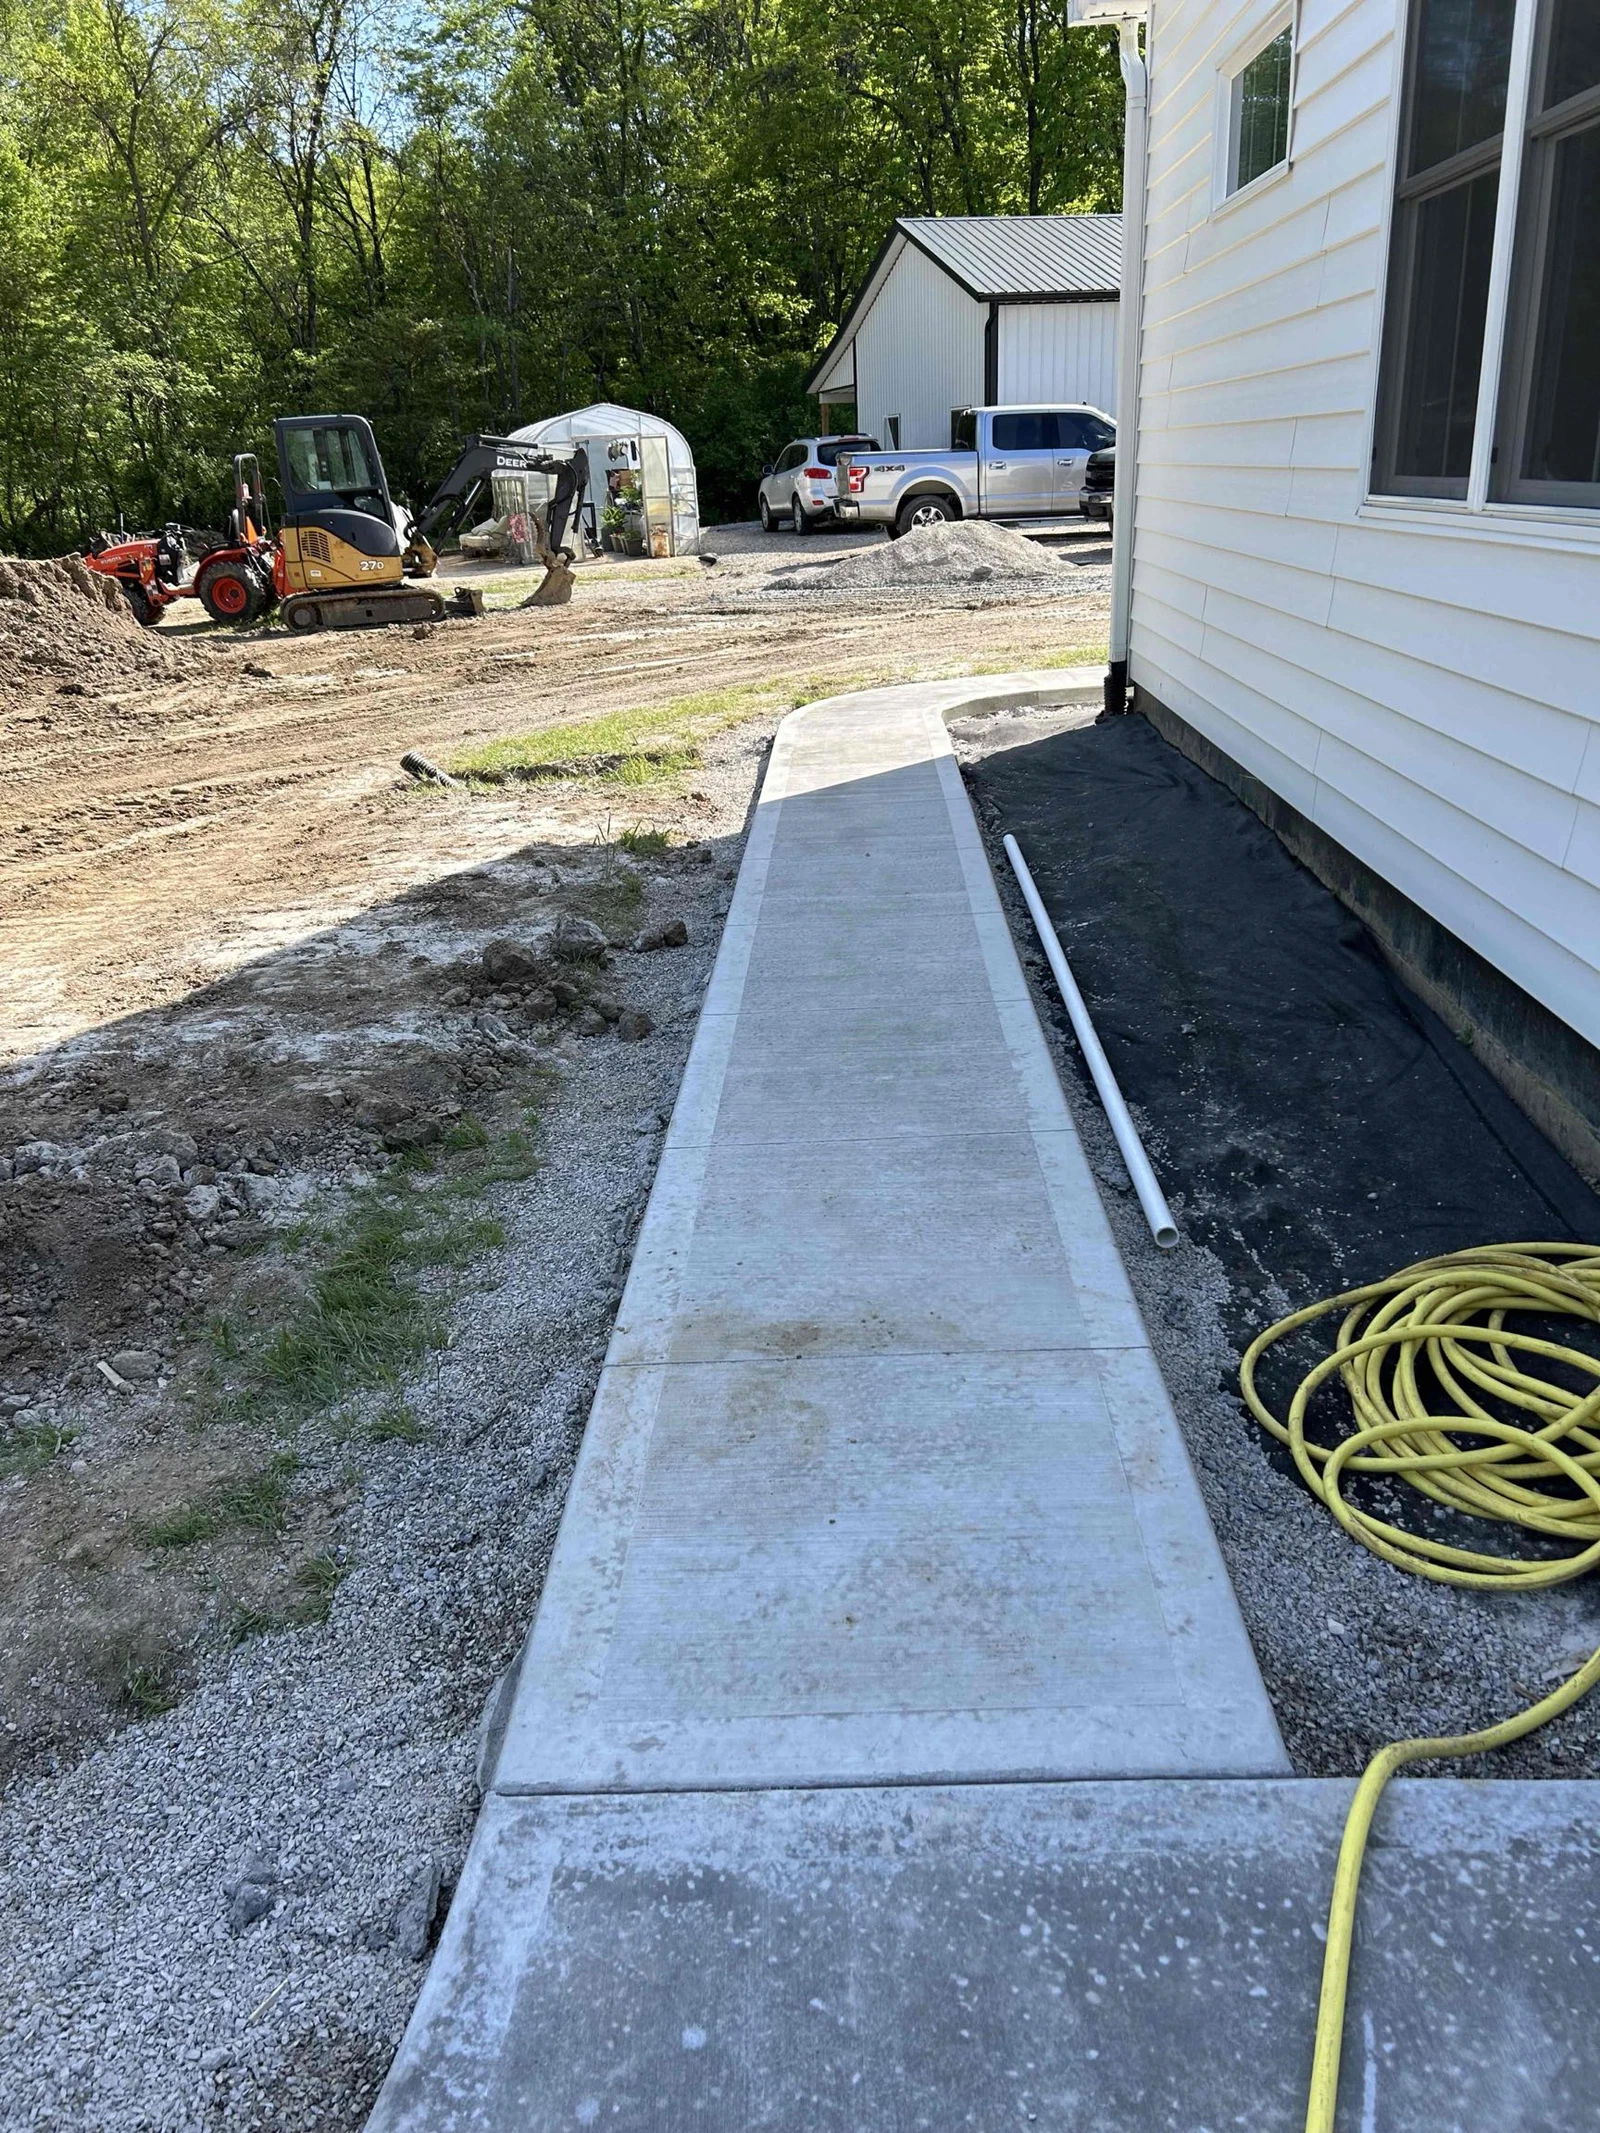
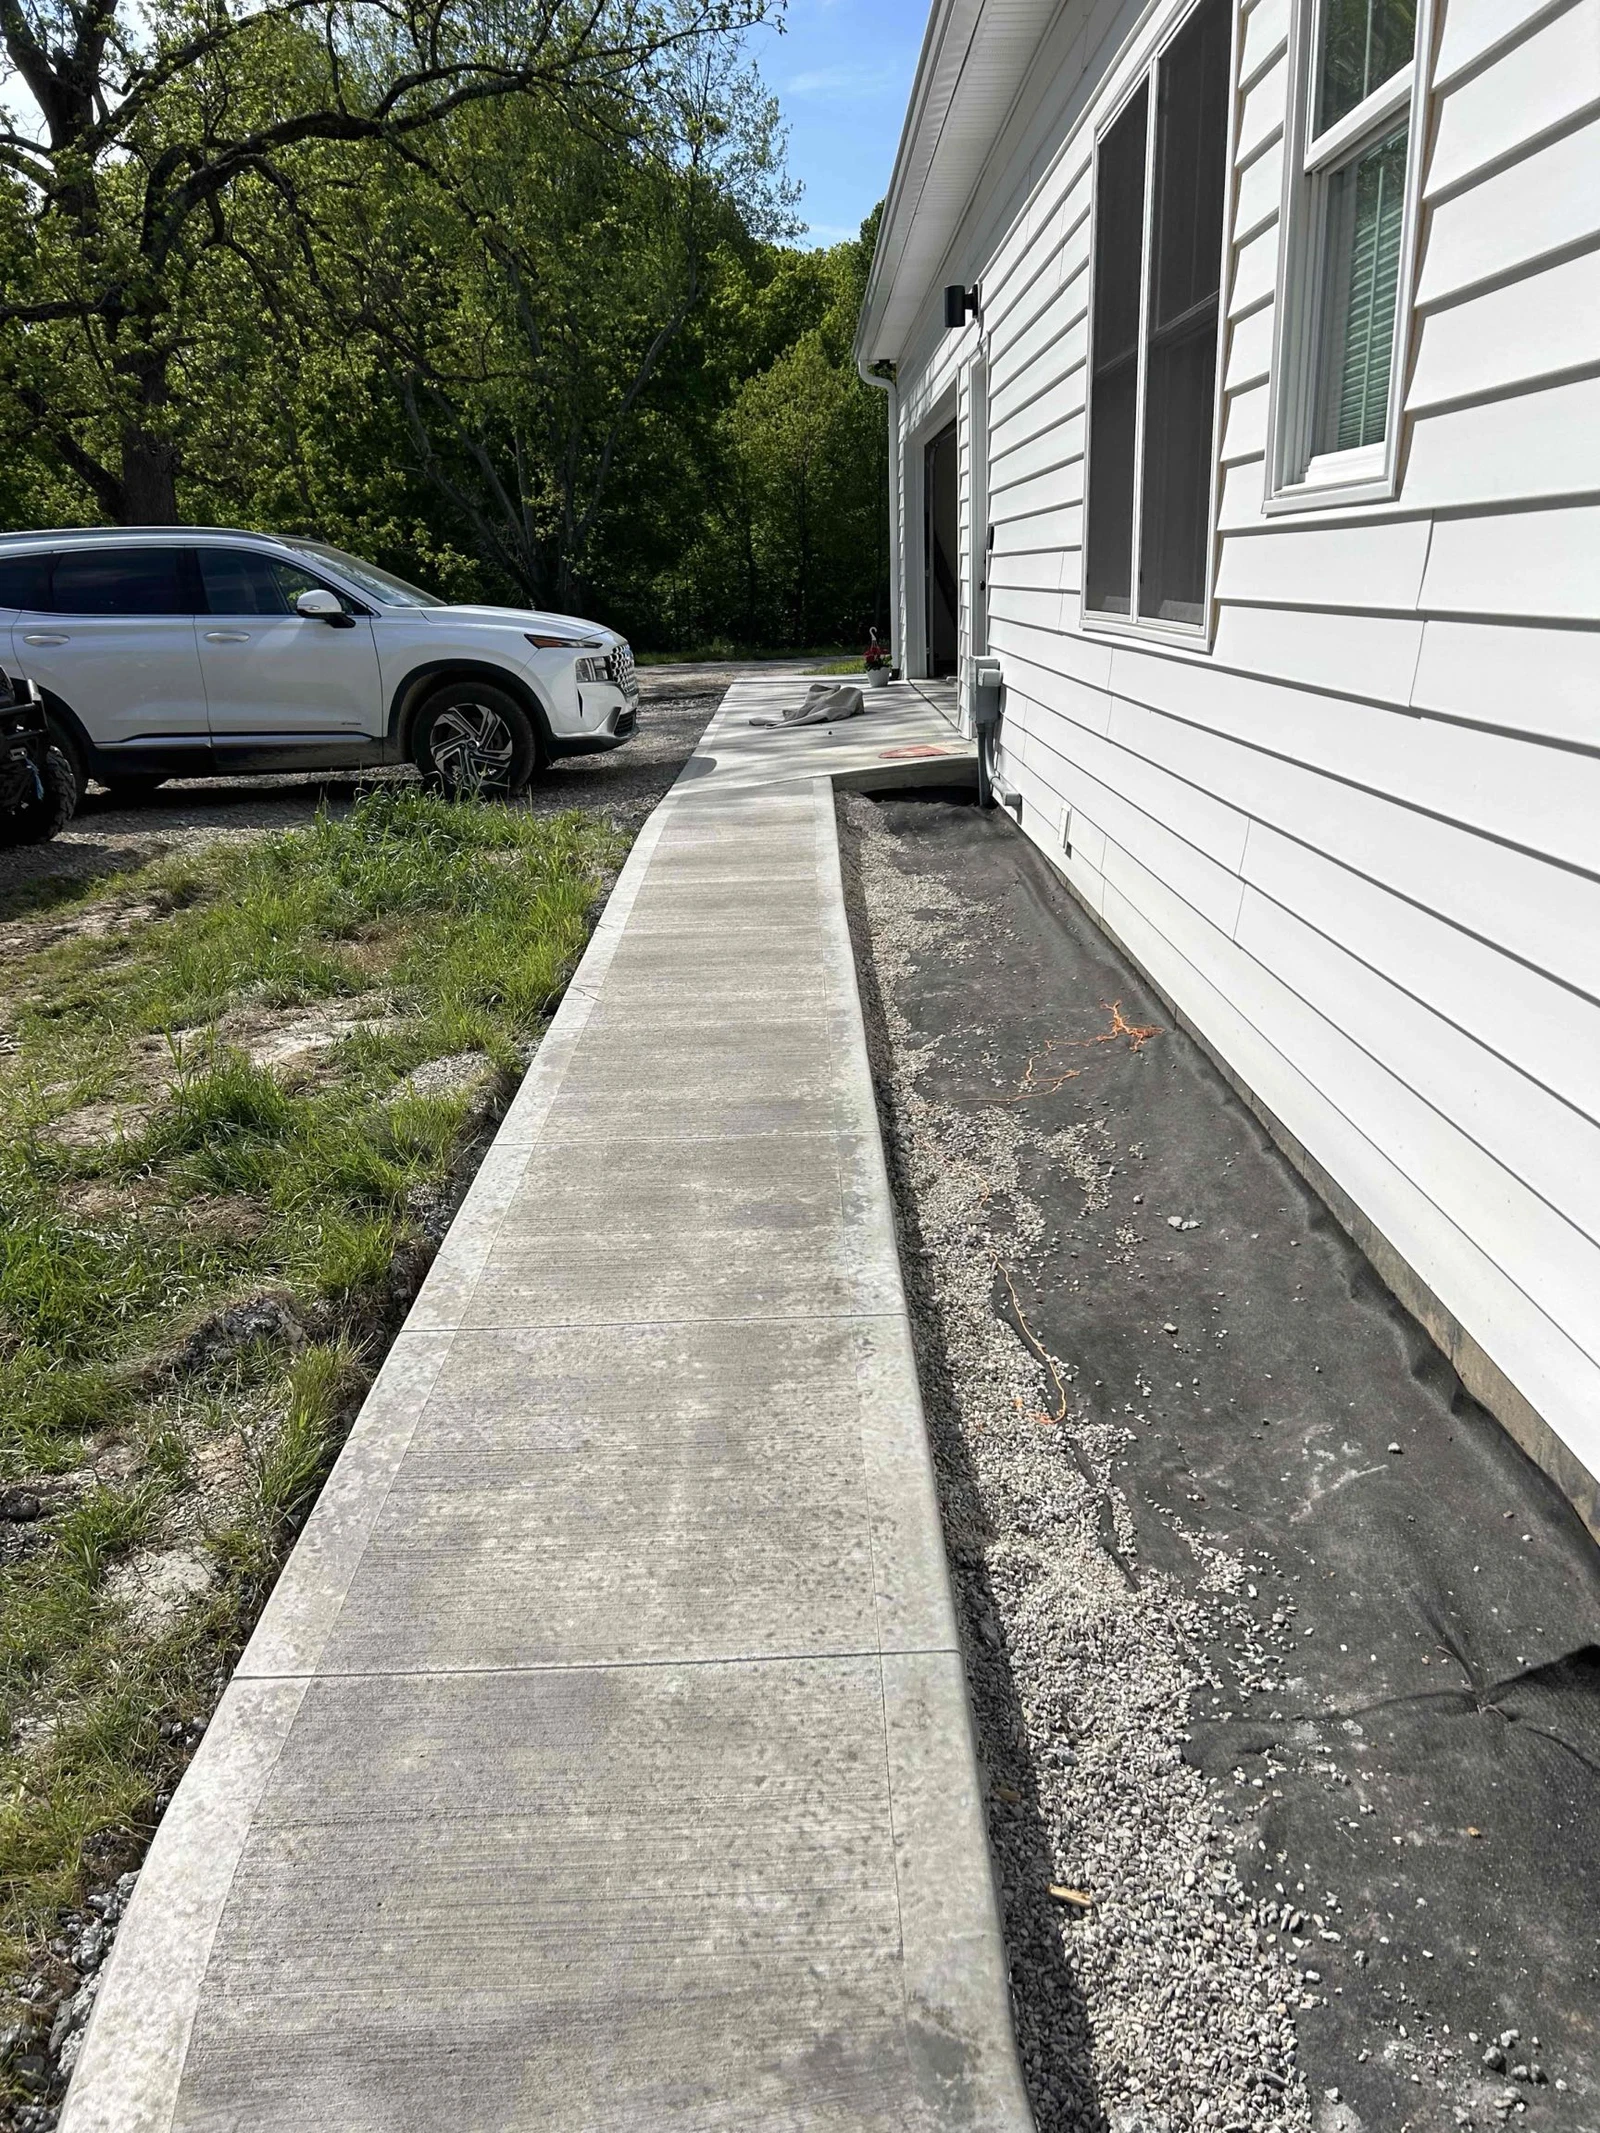
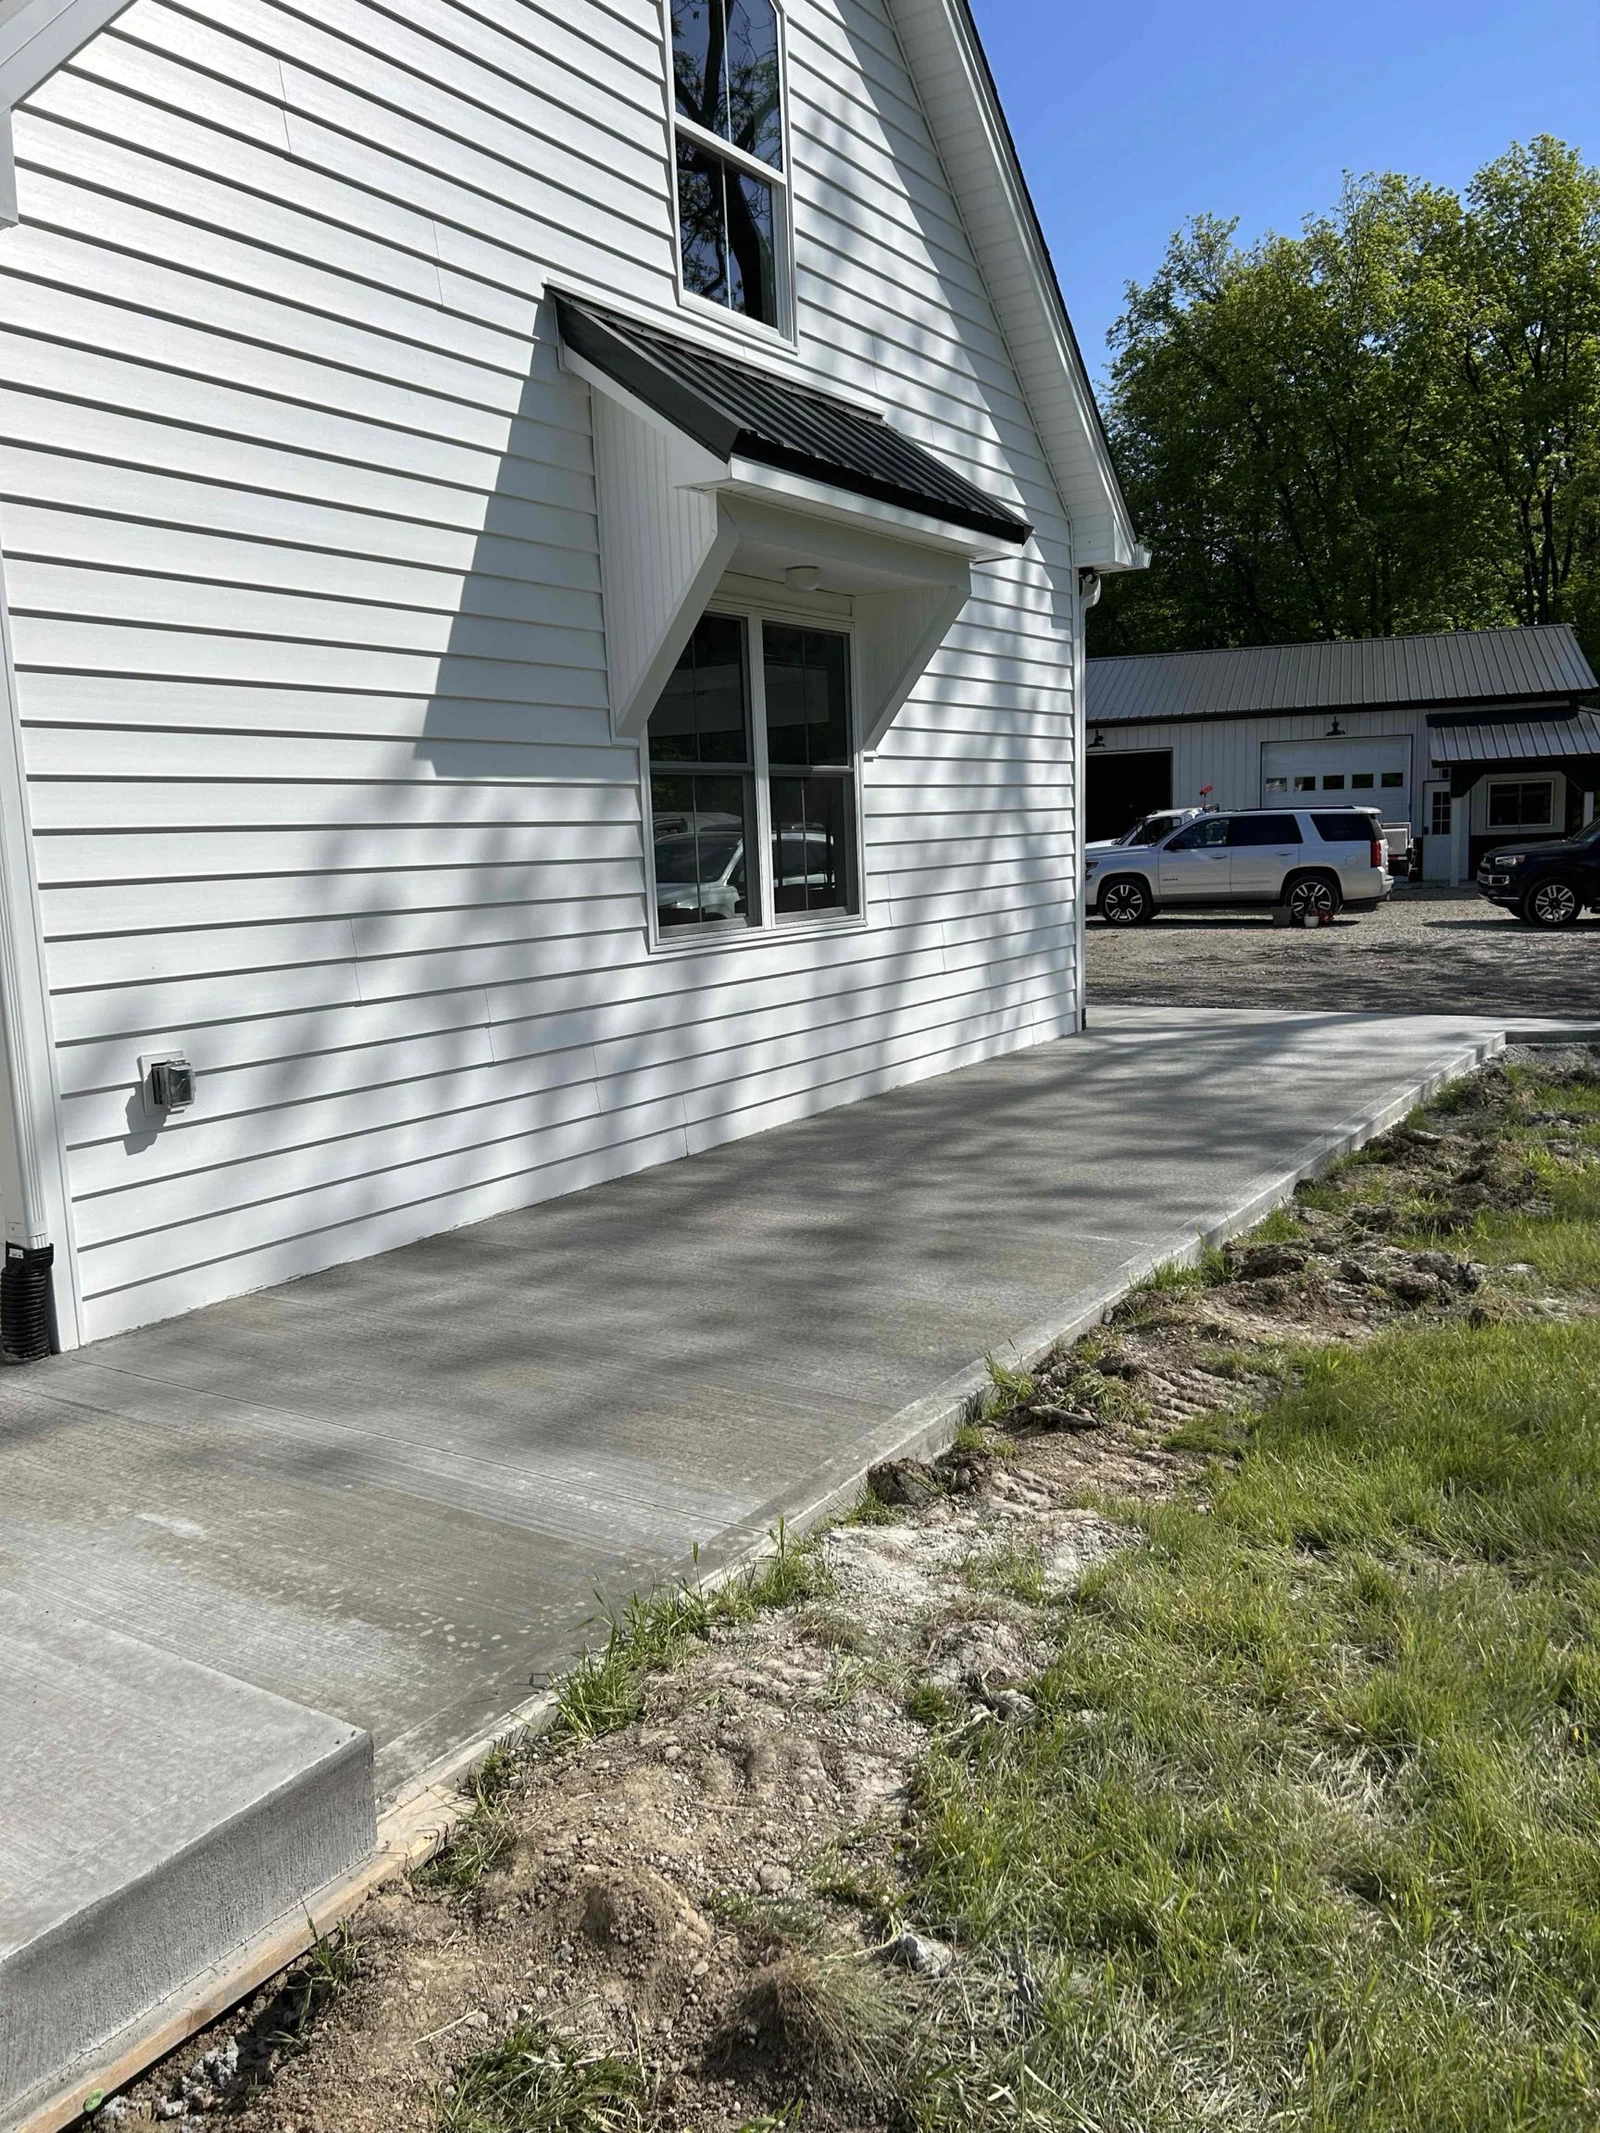
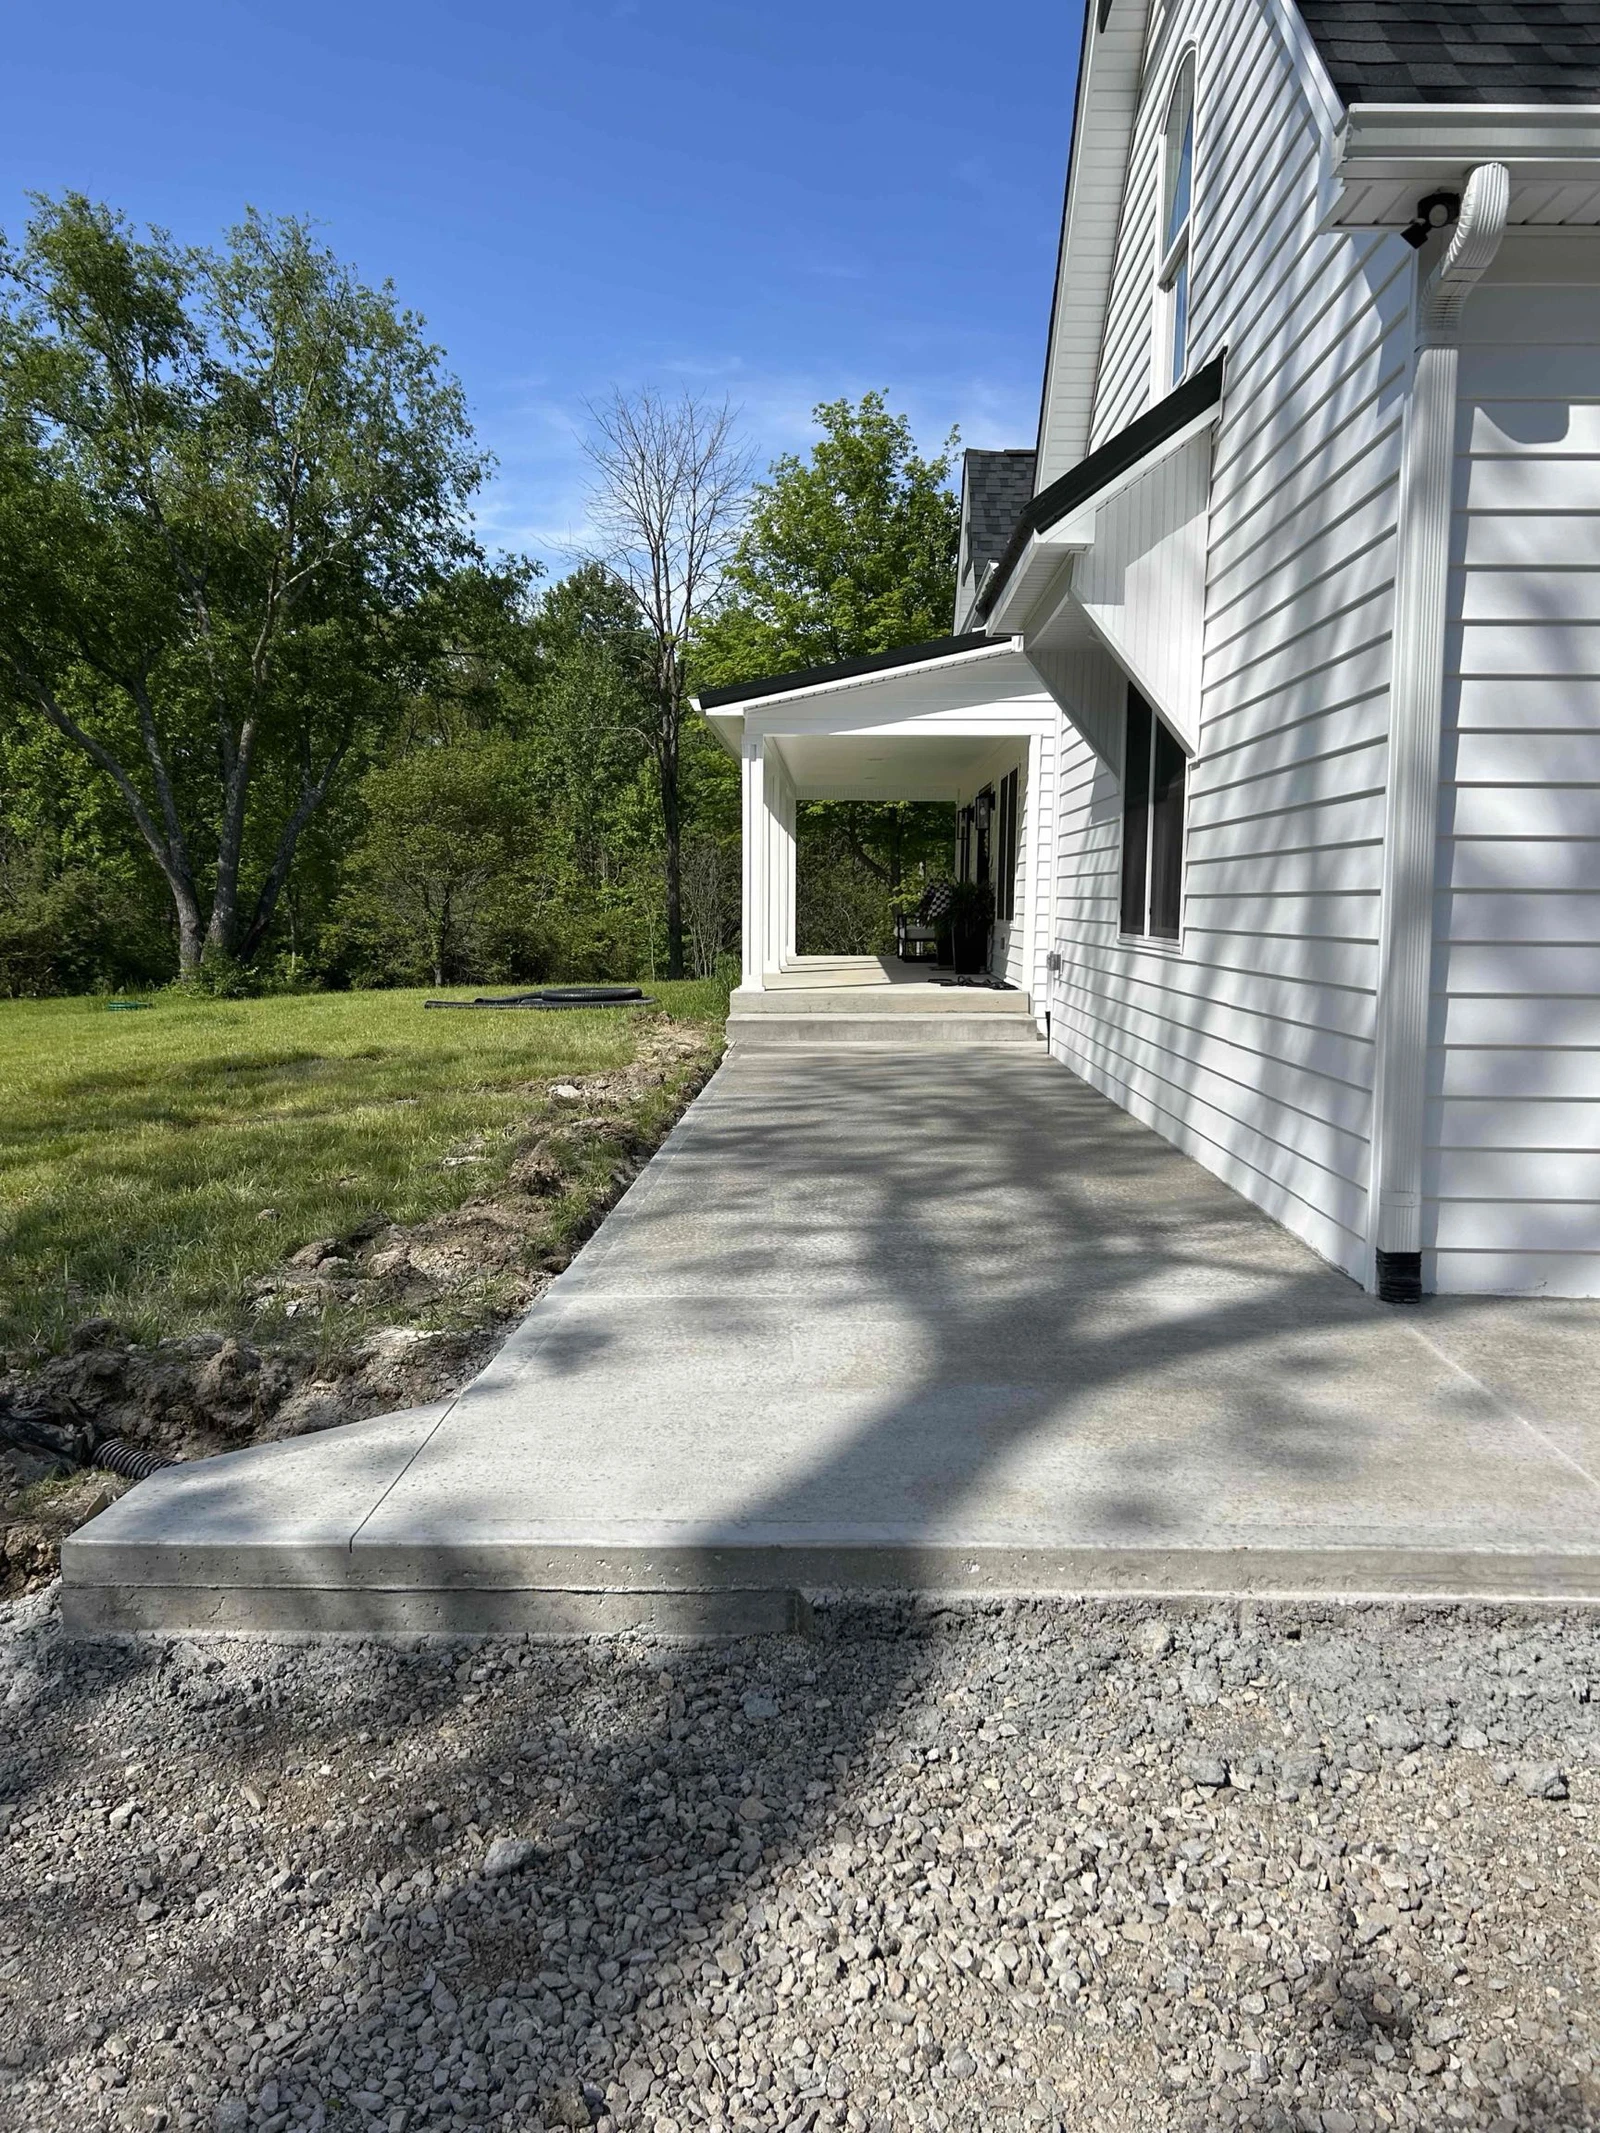
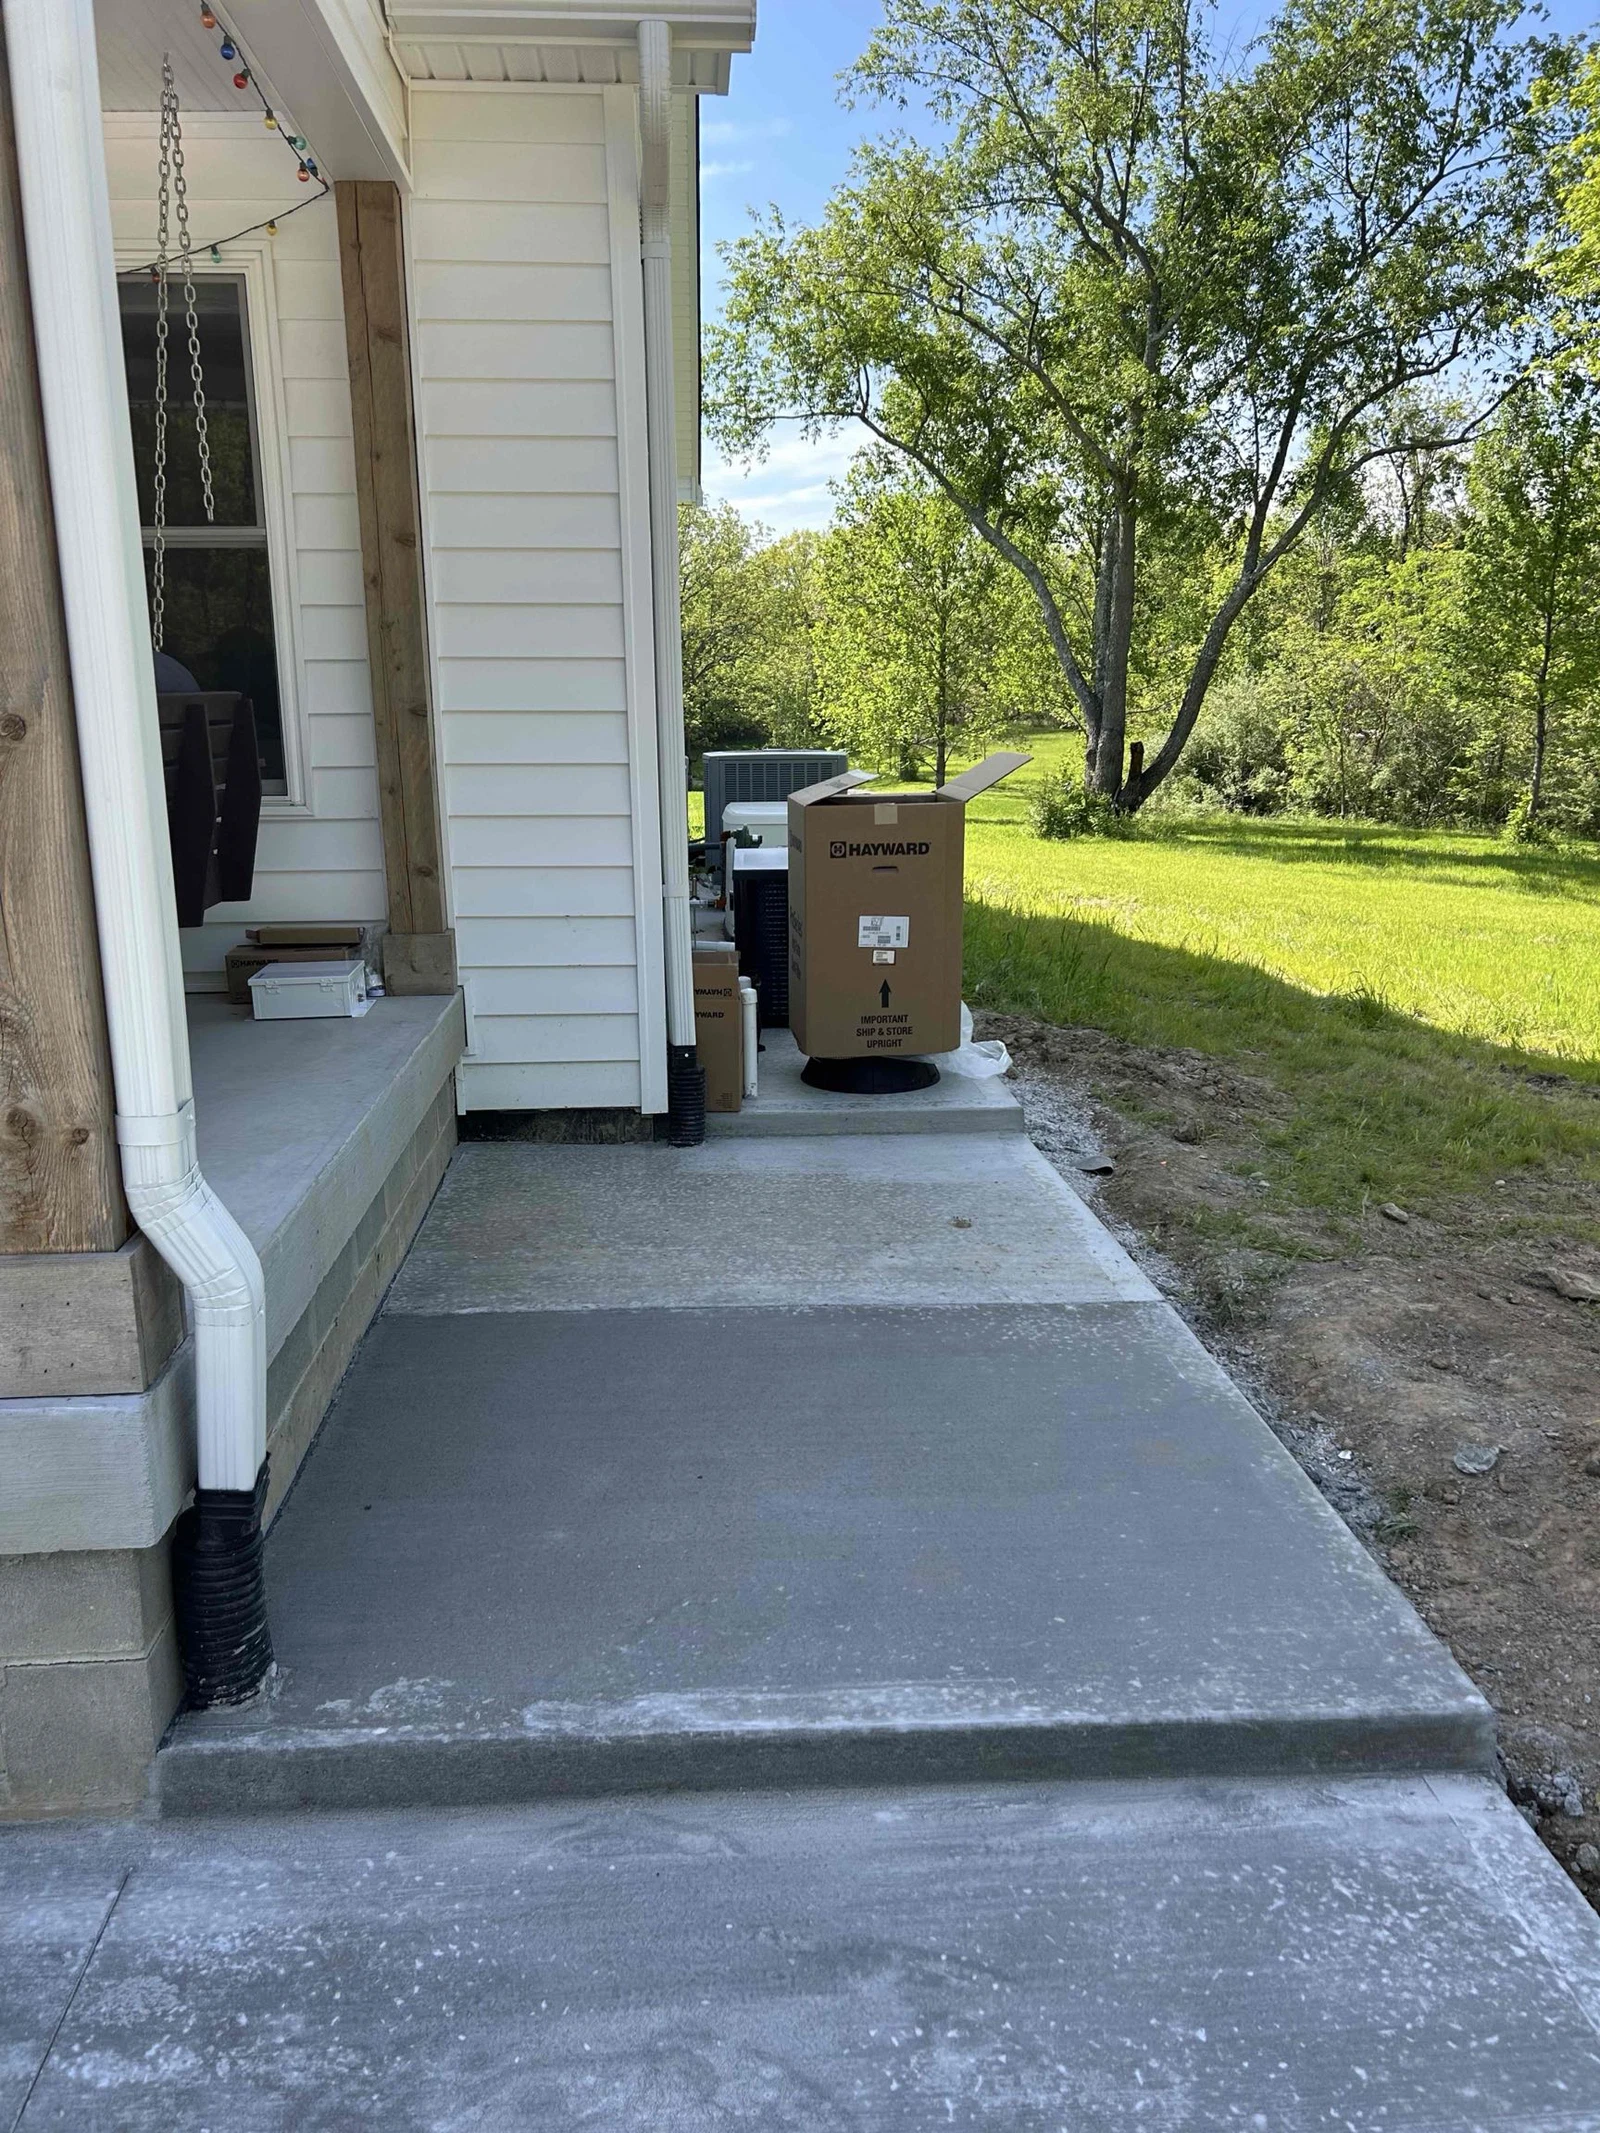
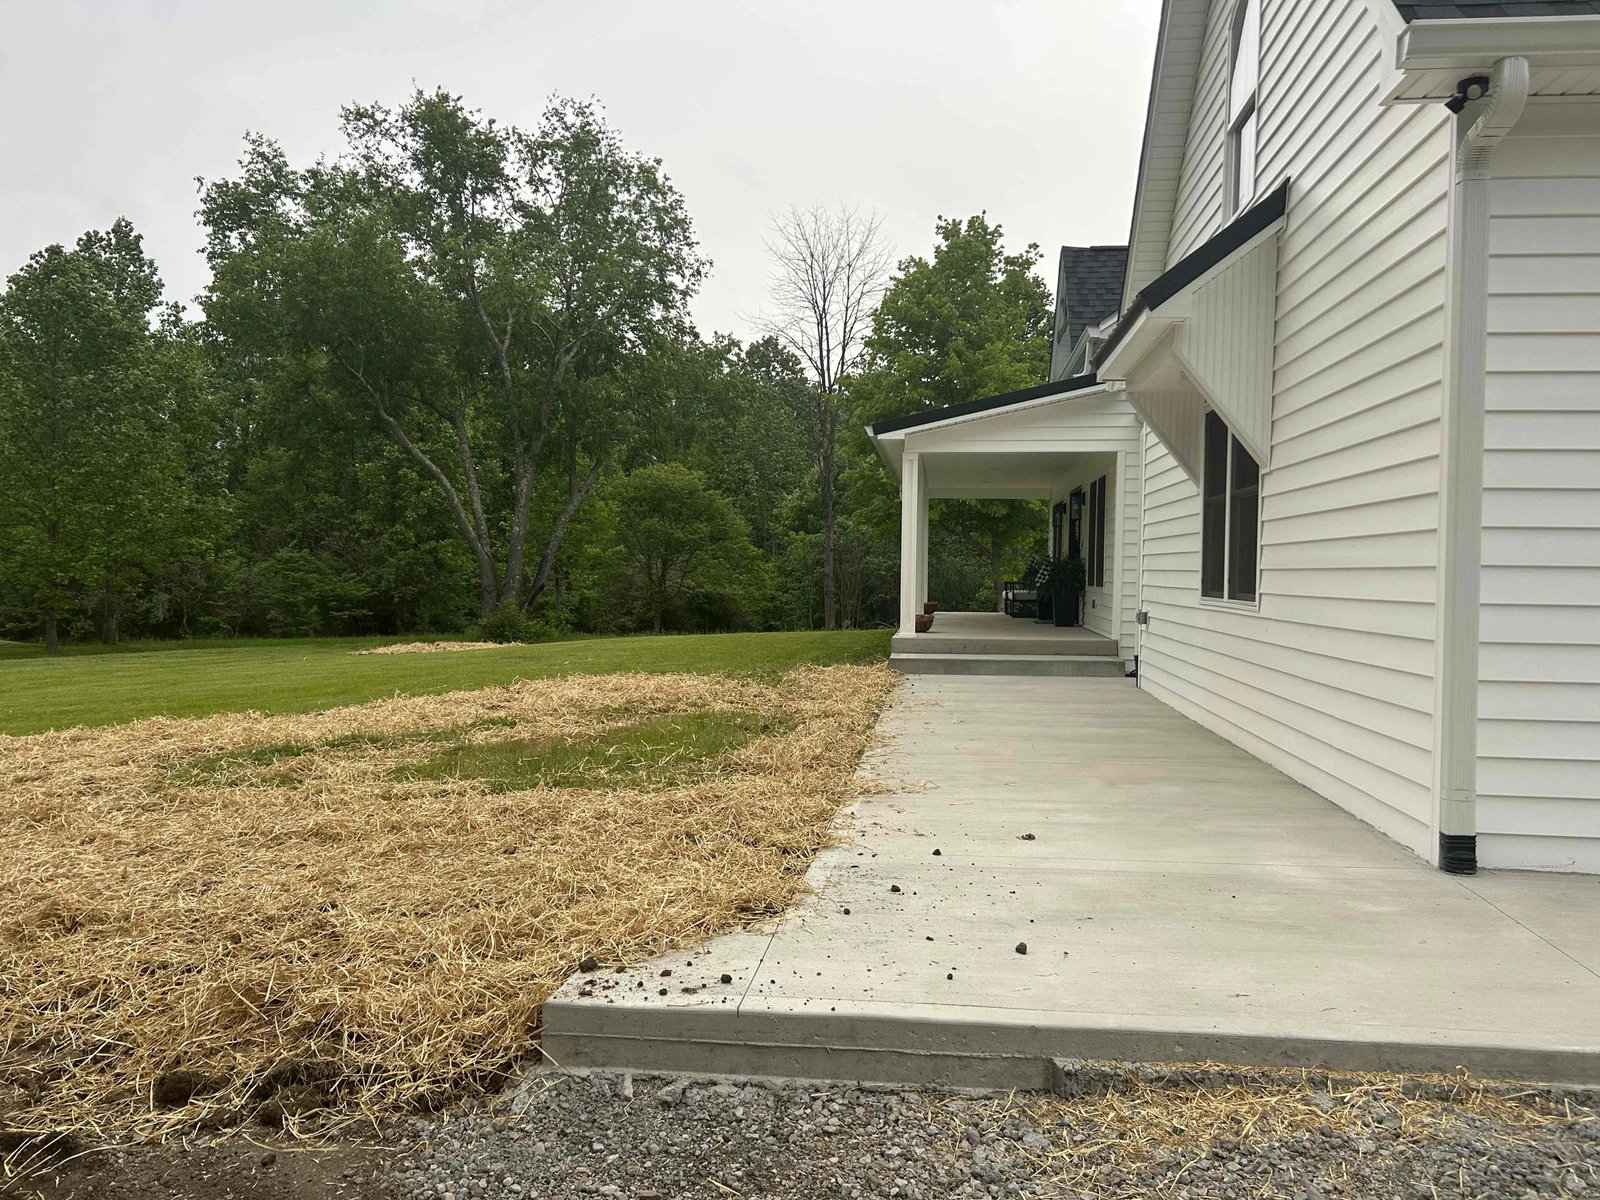
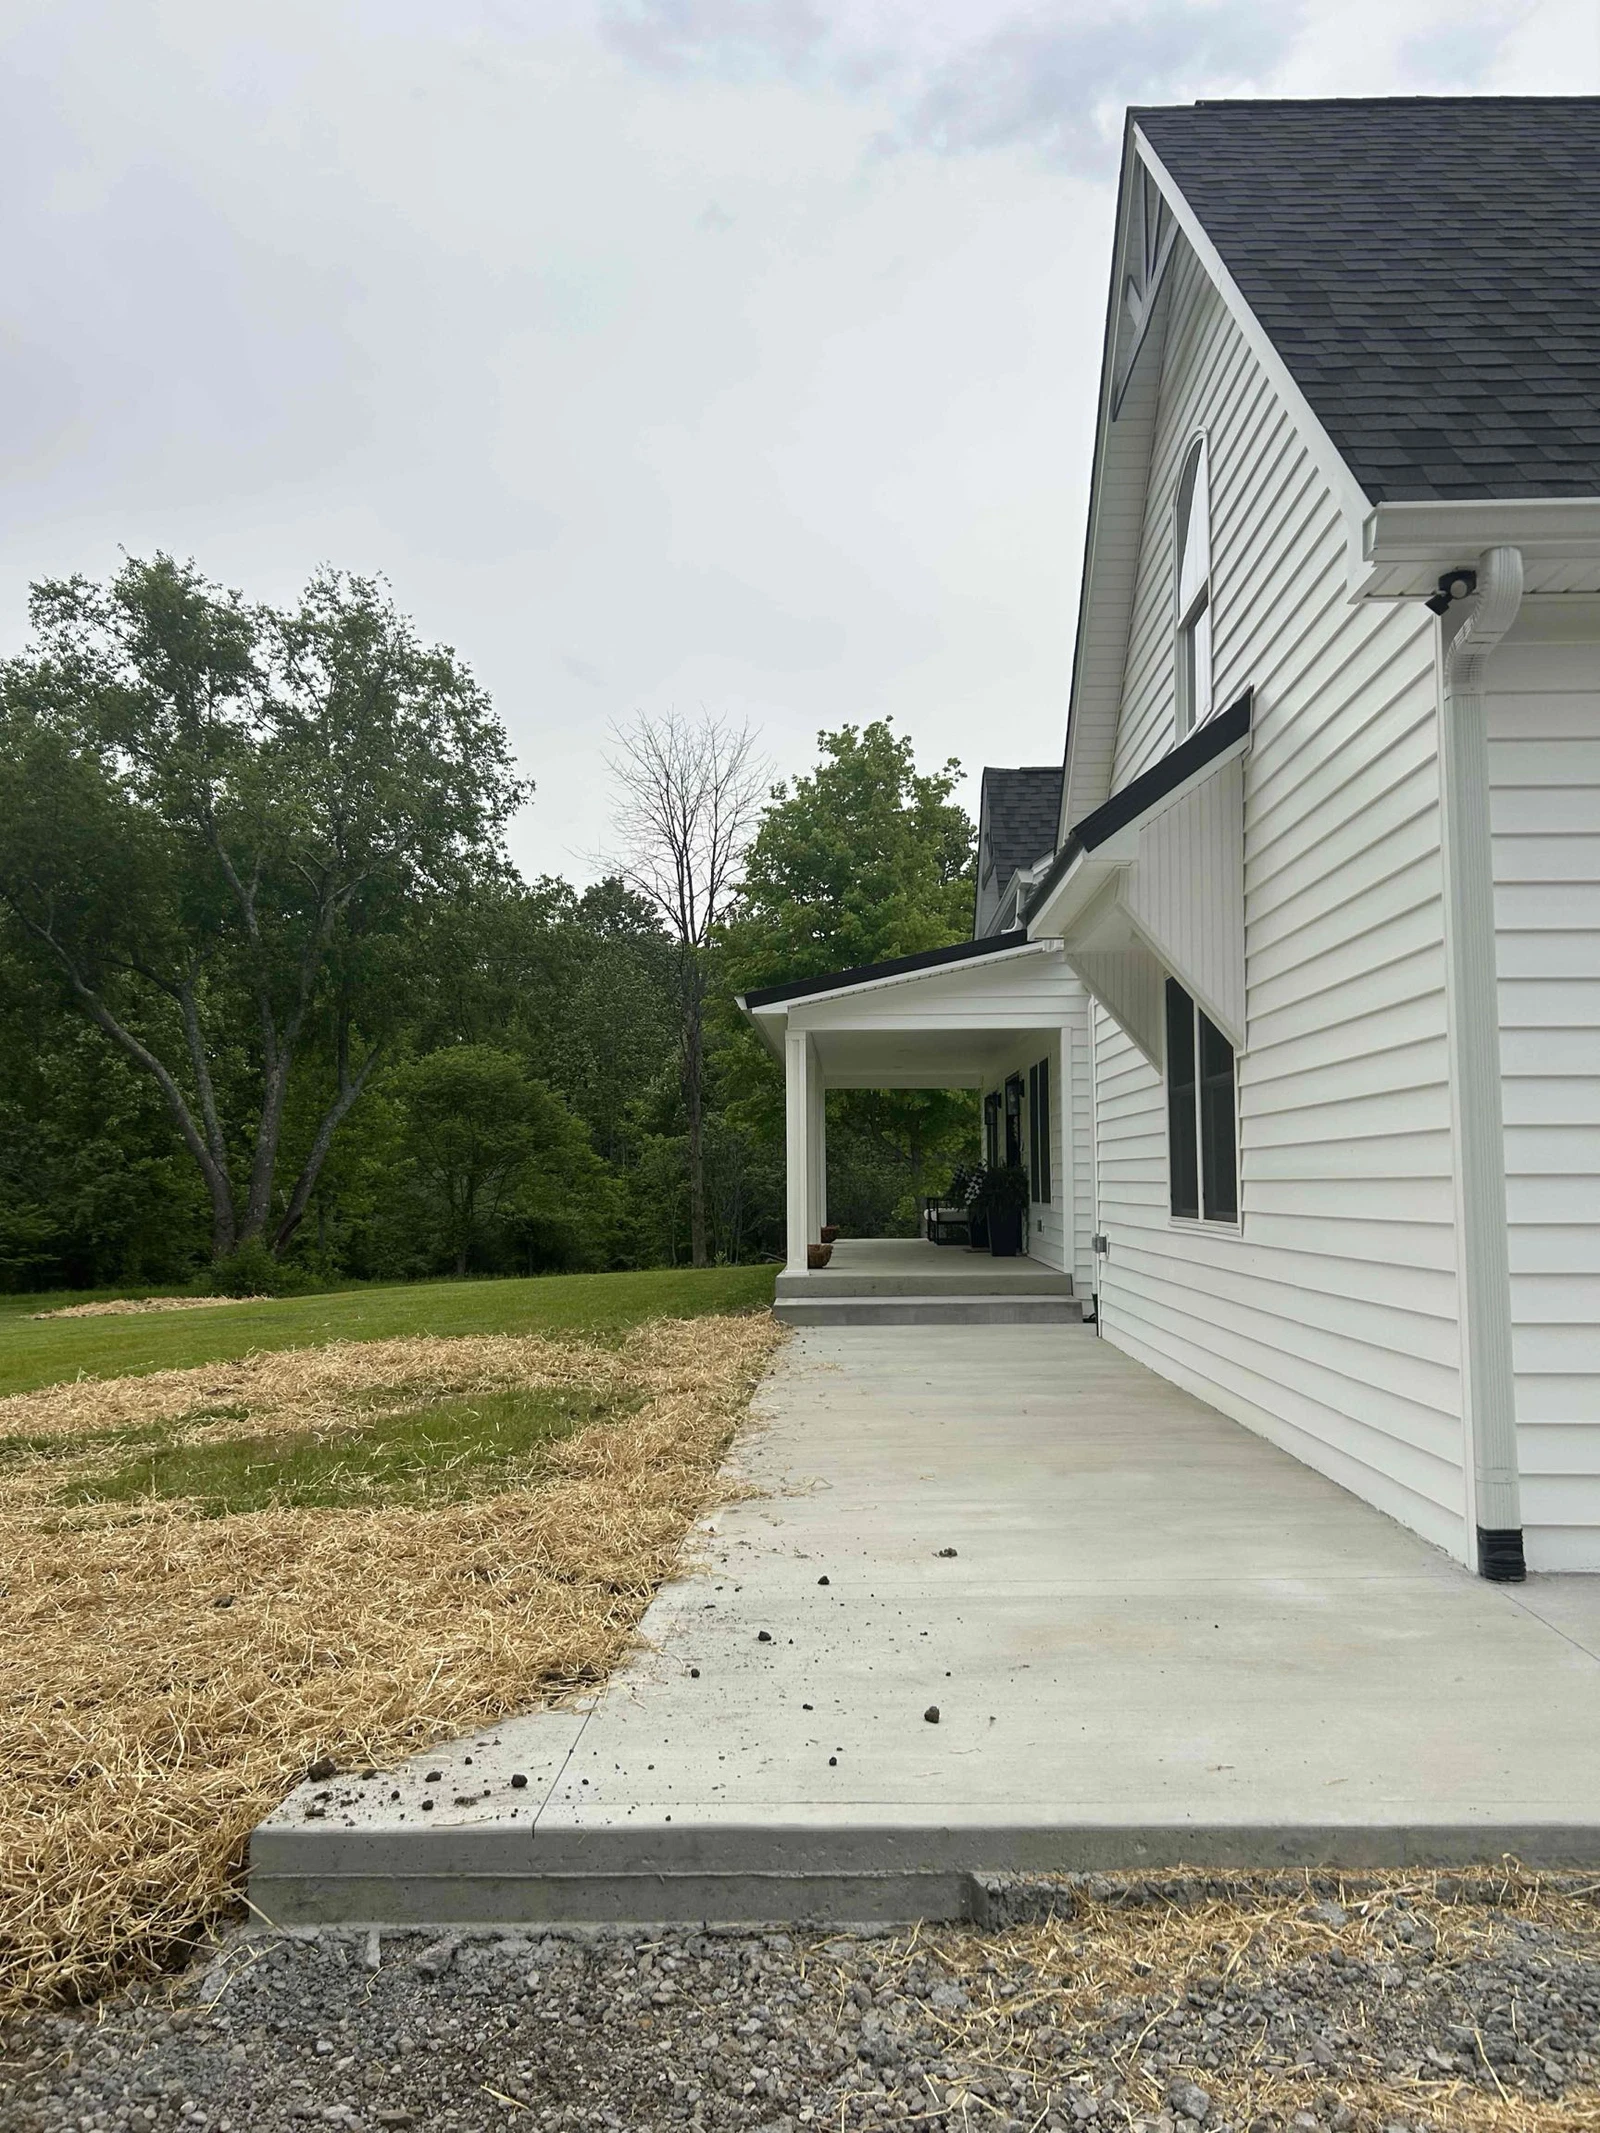
2. Sidewalks That Pop
We cleared out 12 cubic yards of dirt to create 465 square feet of sidewalks, perfect for easy walks around the yard. We packed in crushed stone for a solid 4-inch base, sloped at 1.5 inches slope for great drainage. The after photos show smooth, stylish sidewalks that tie the whole space together.

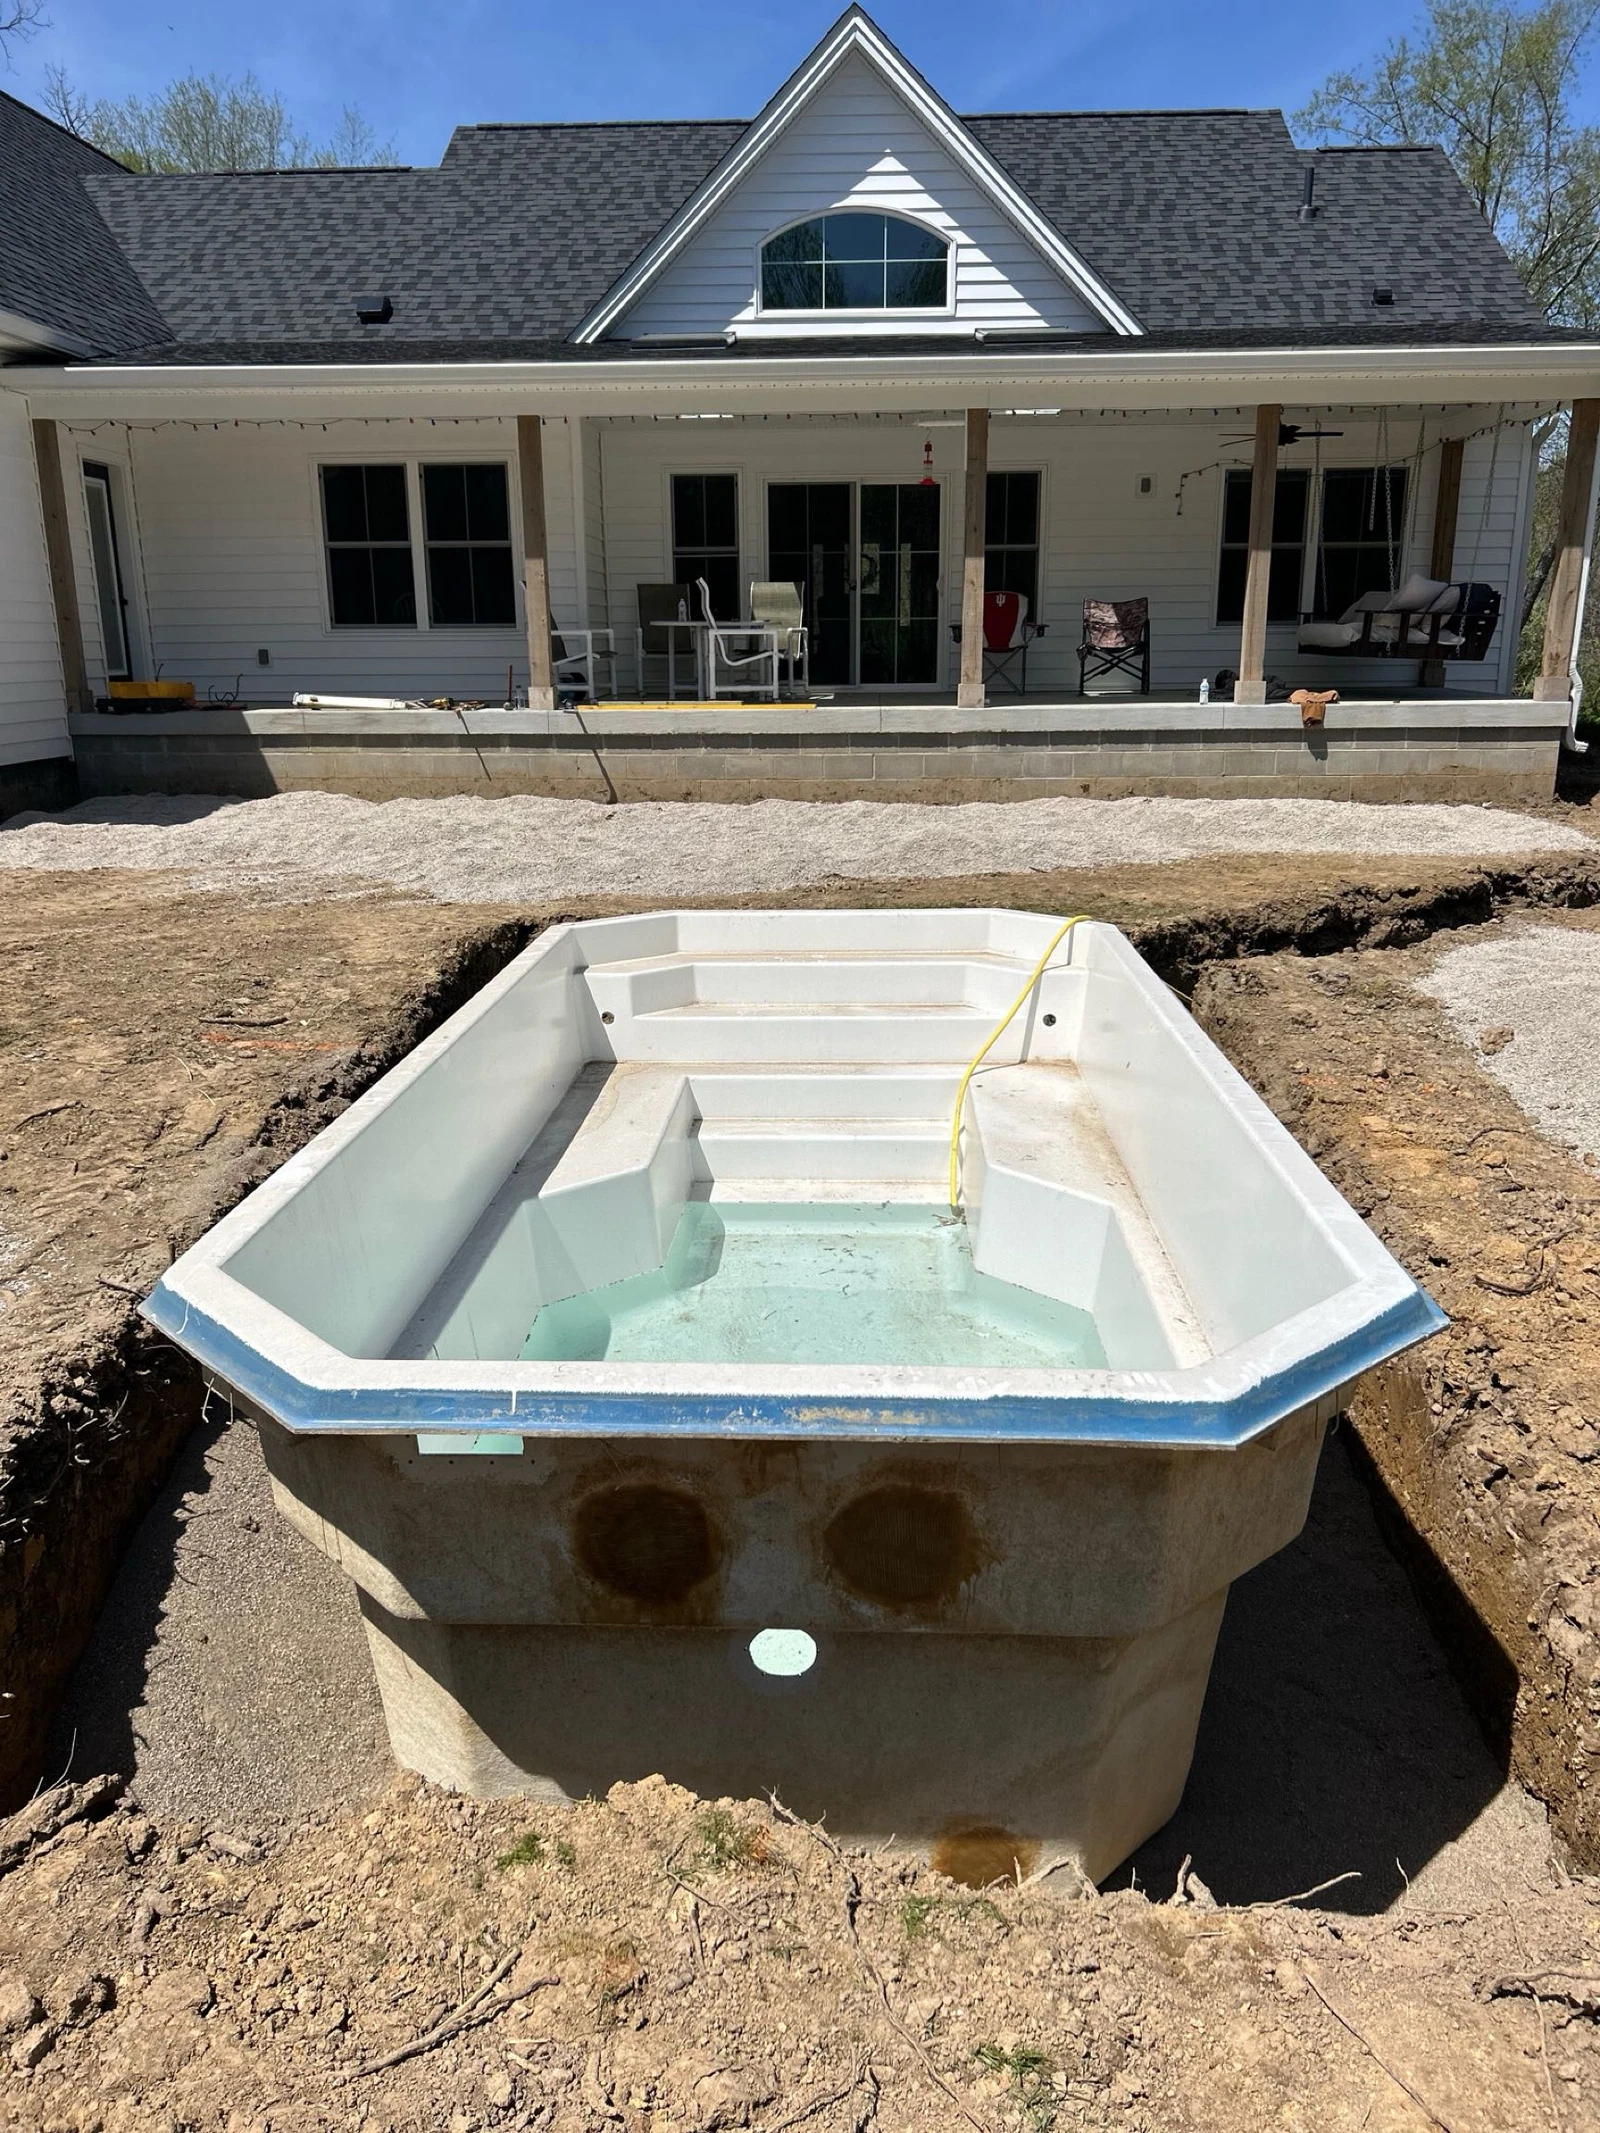
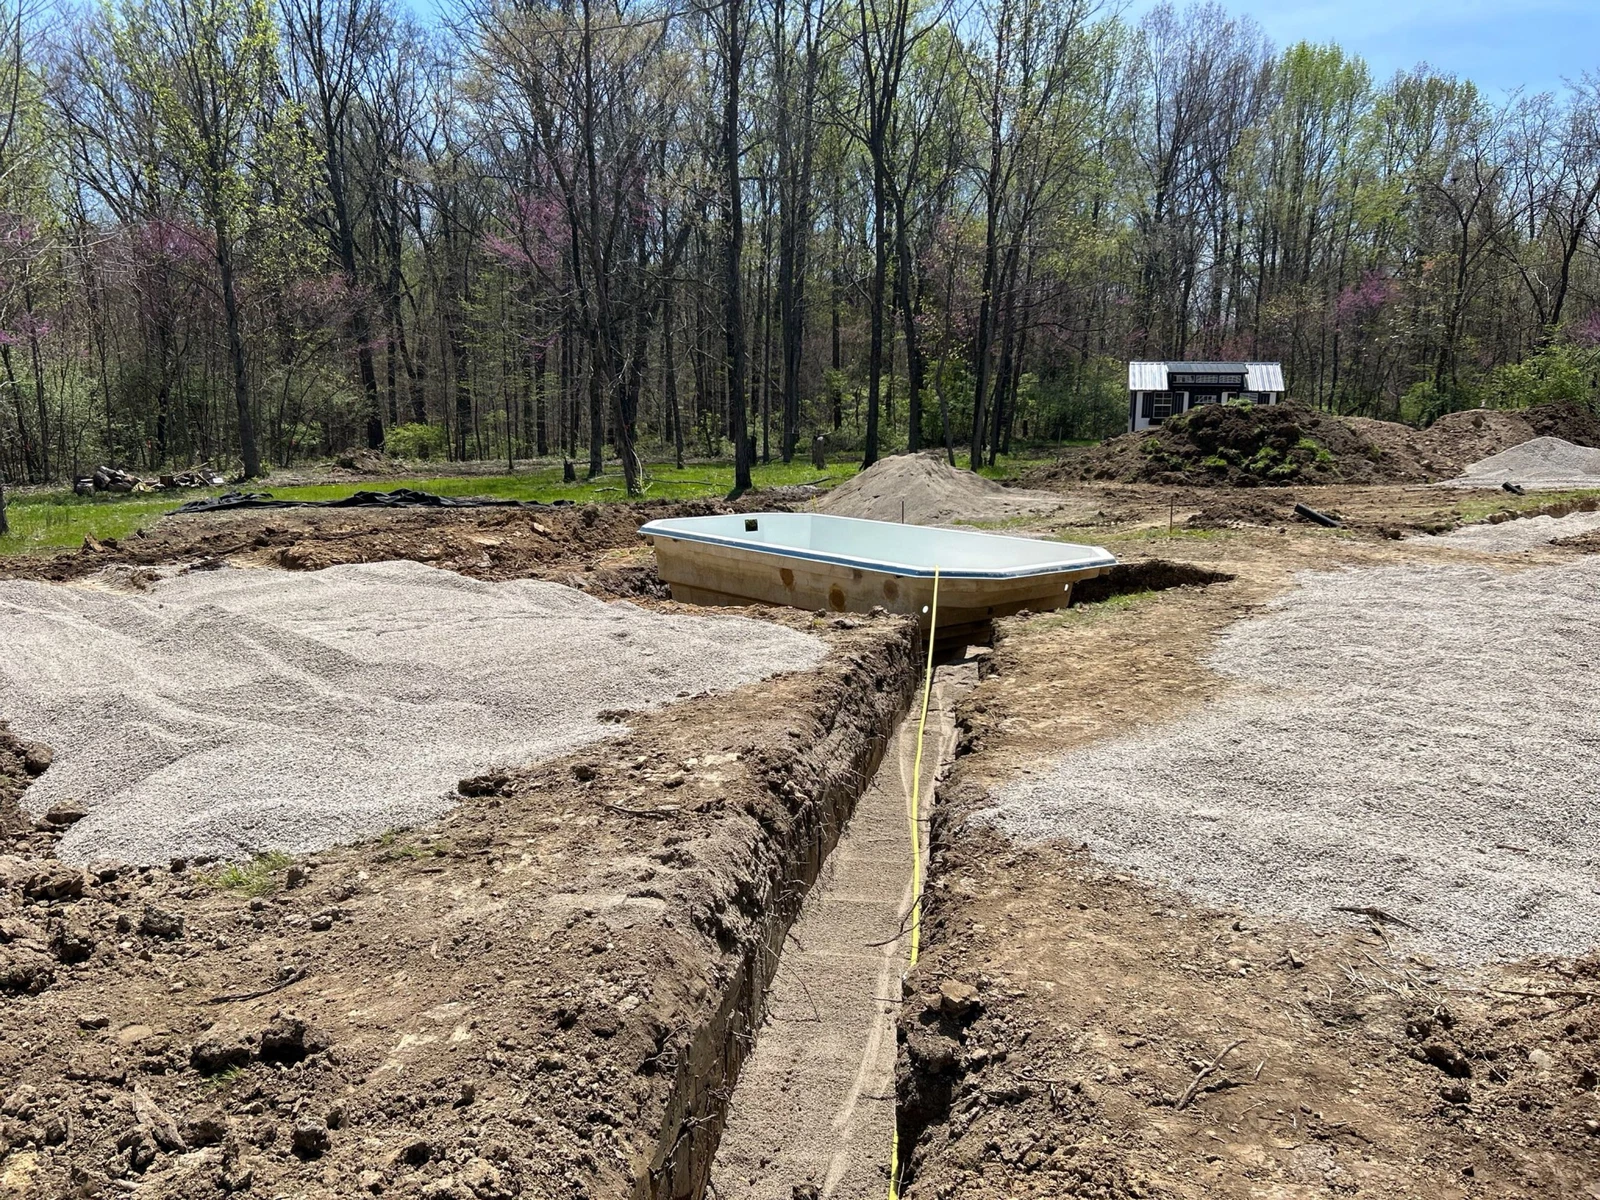
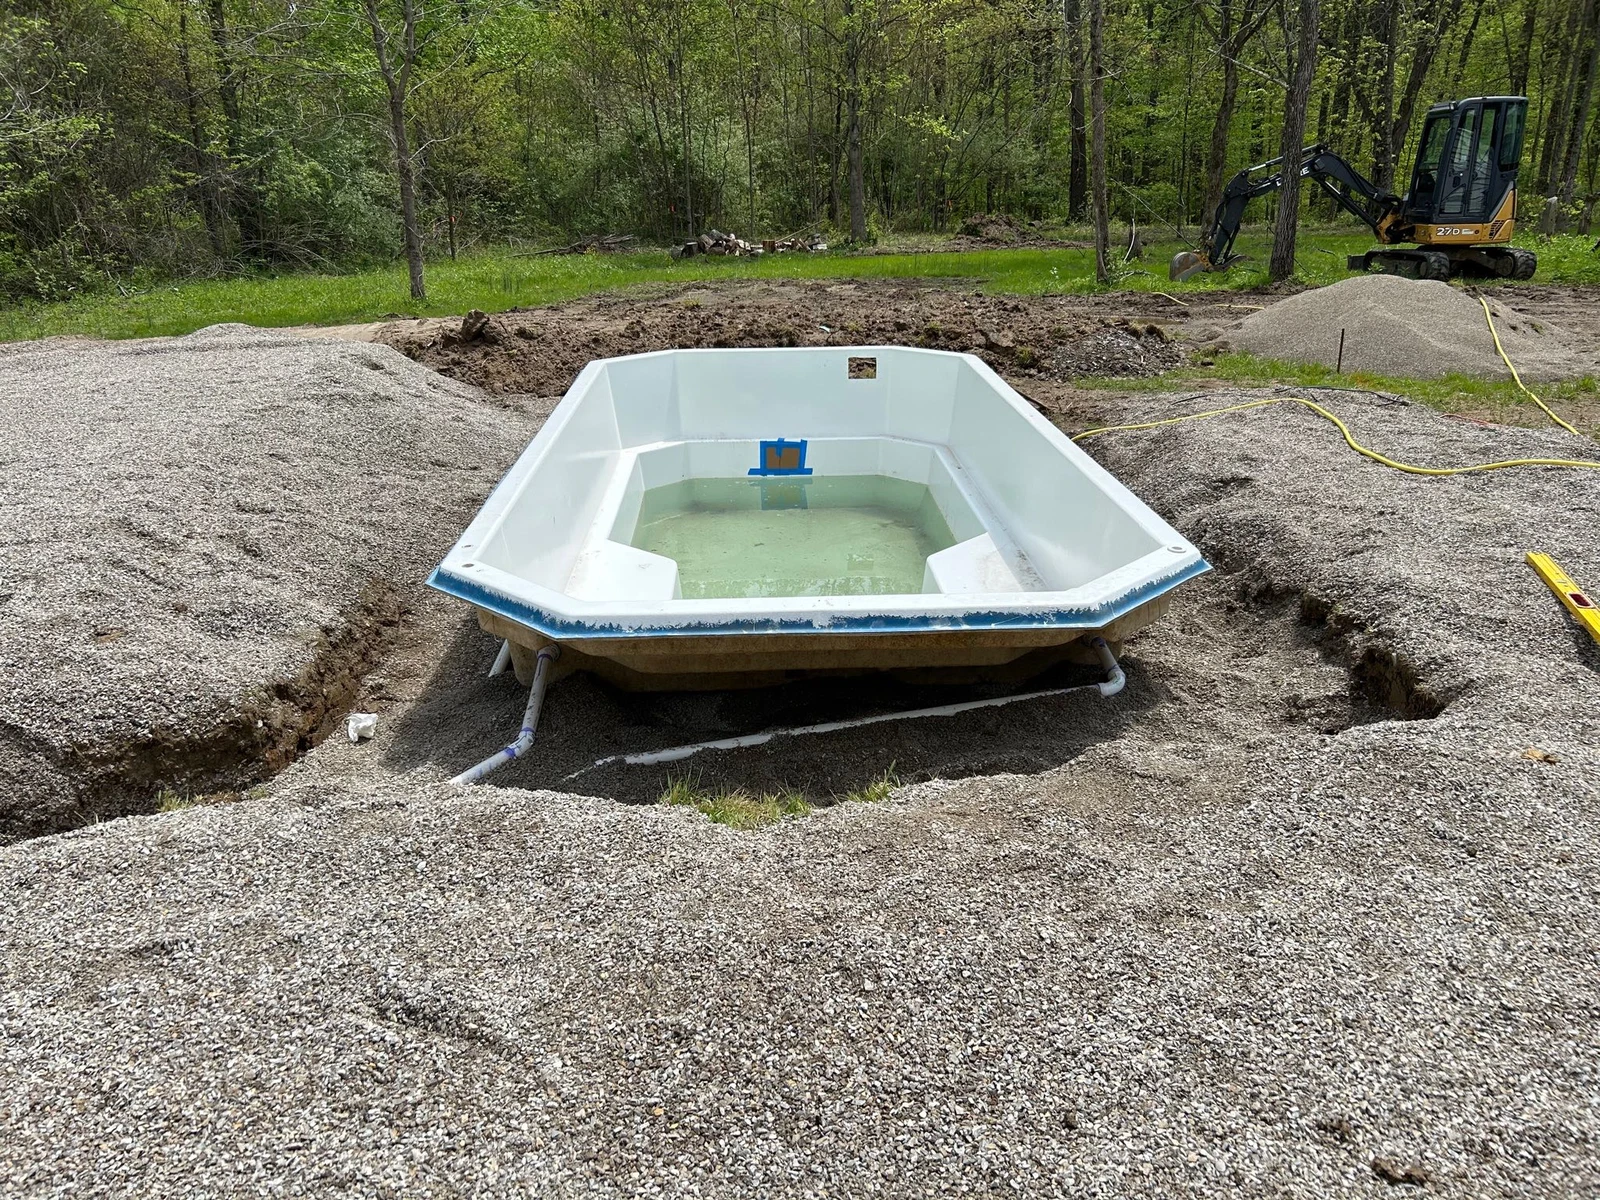
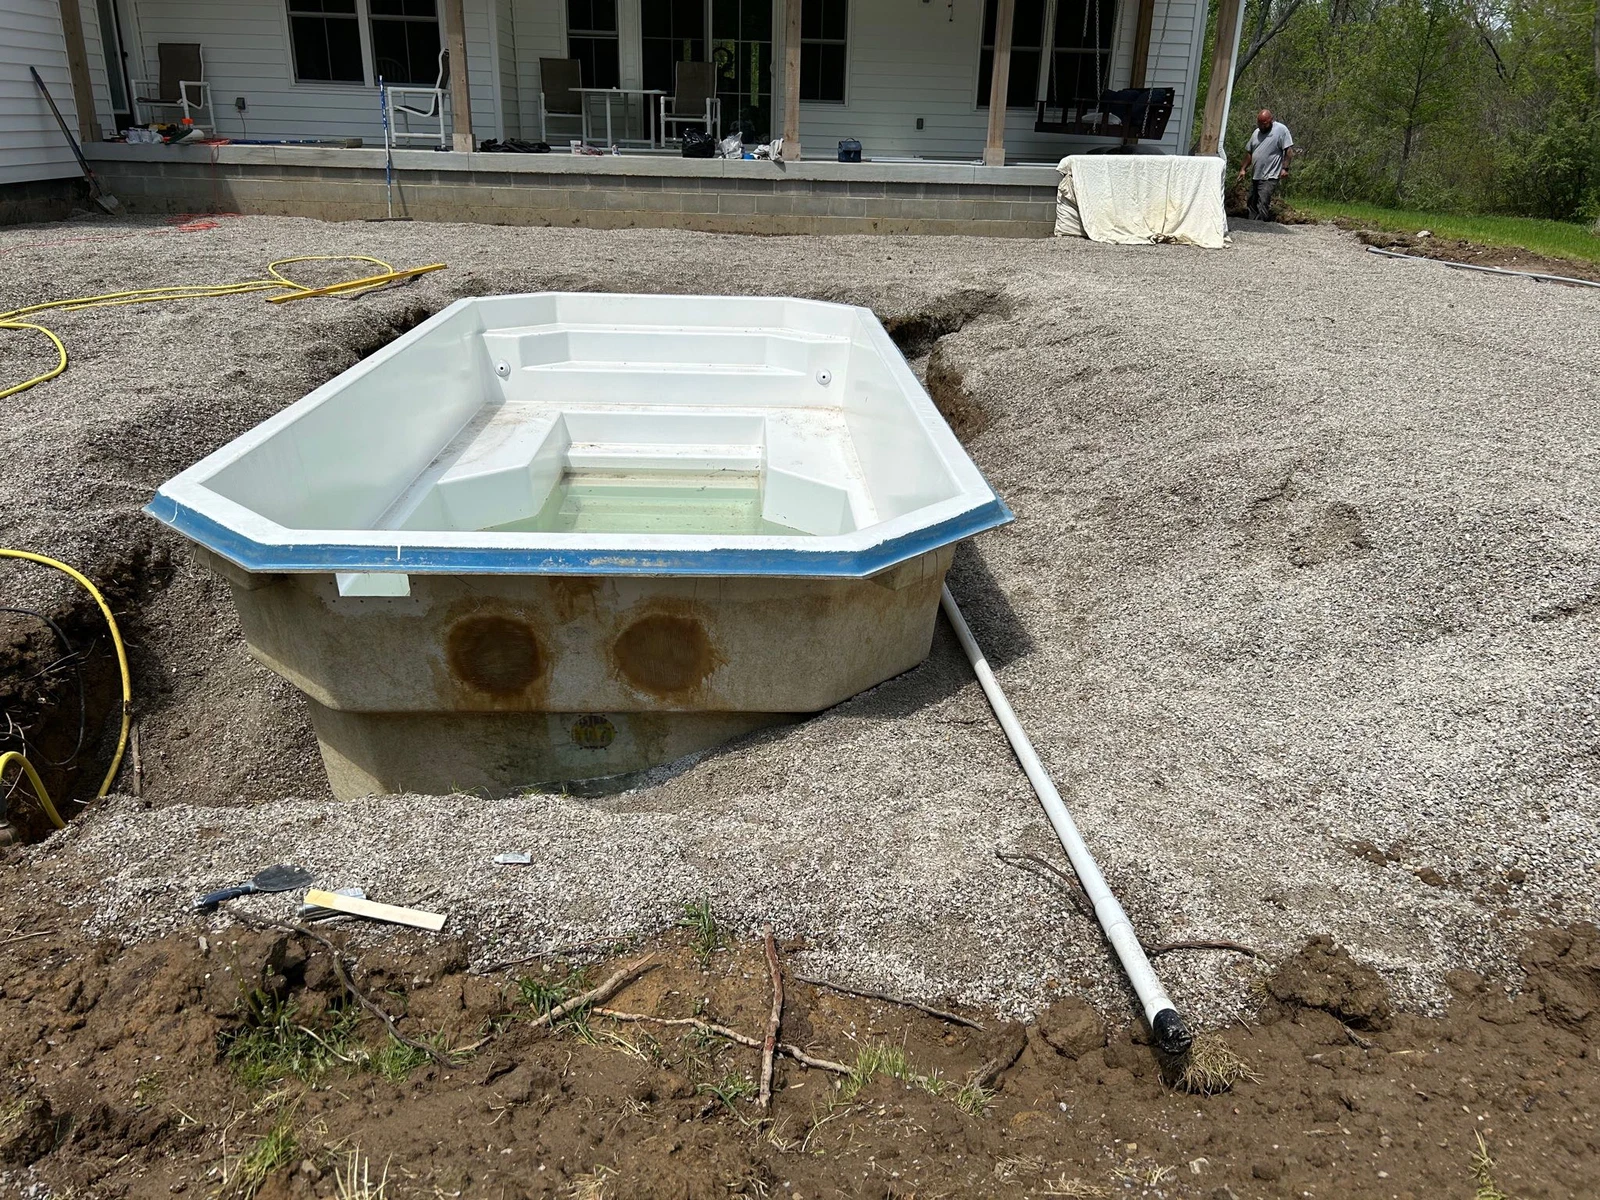
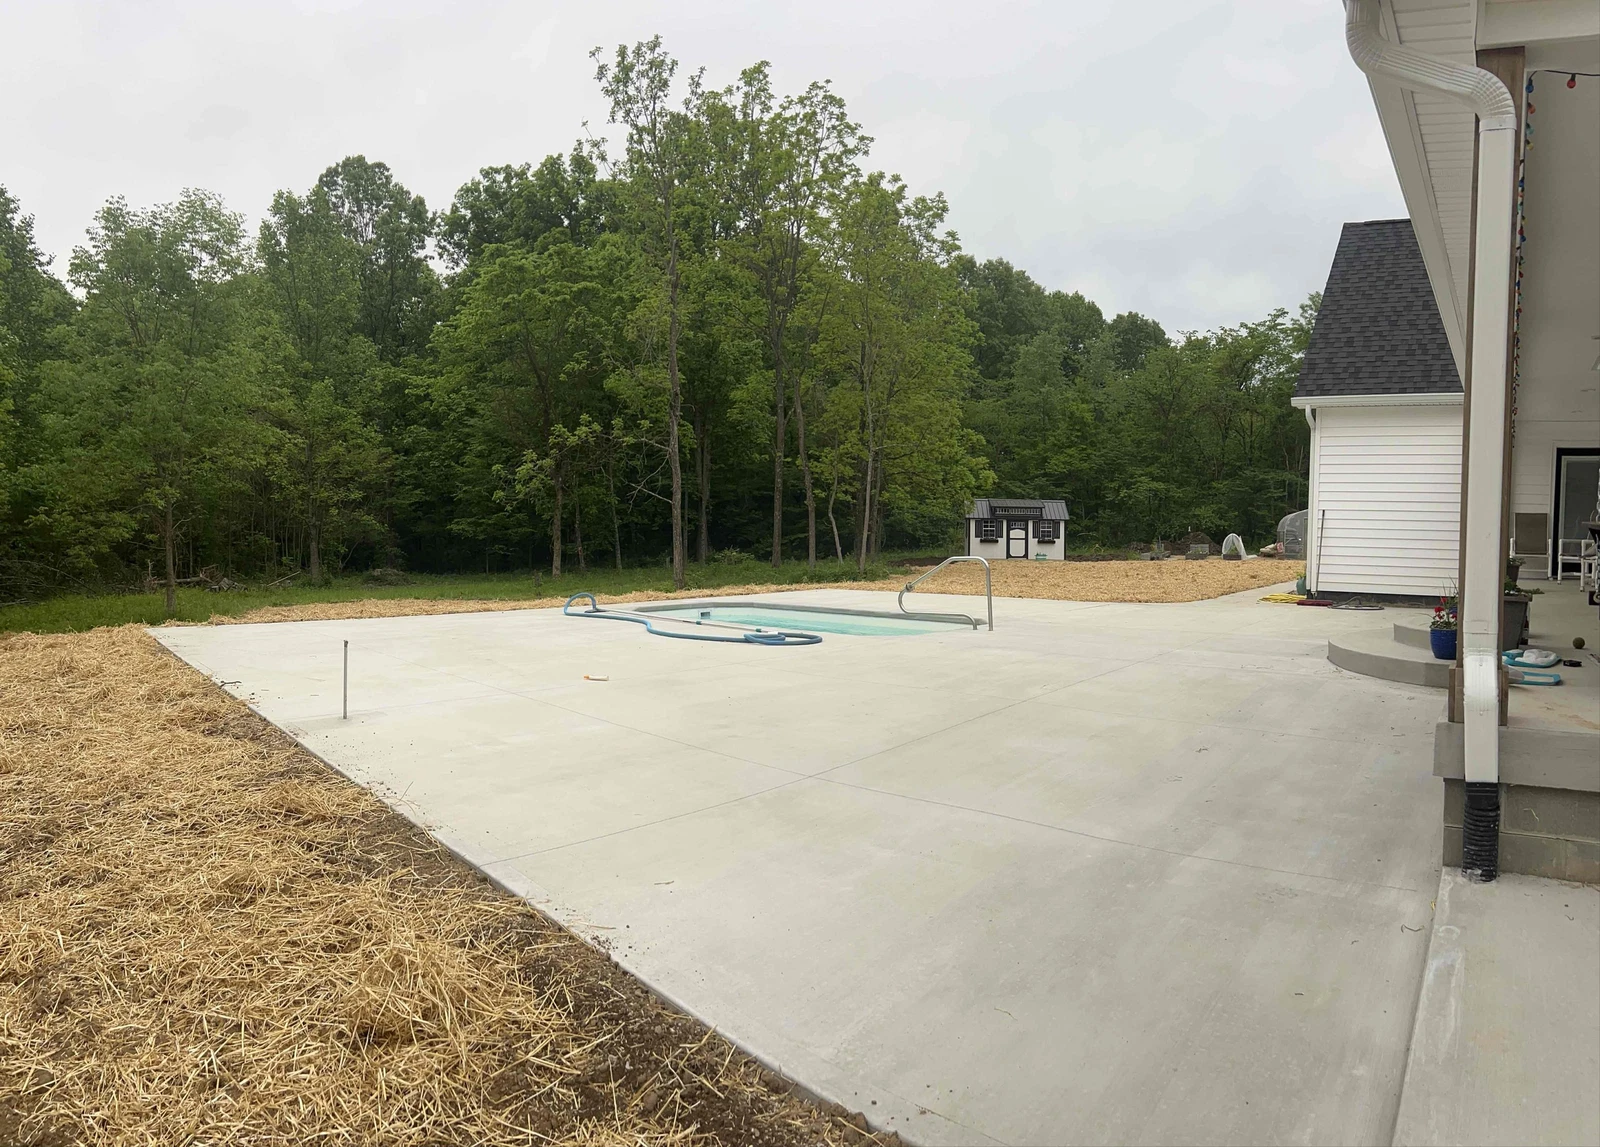
3. A Rehabbed Pool That Shines
The centerpiece? A 9x17-foot pool, 3 to 5 feet deep, set 3 inches below the patio for a seamless vibe. Here’s the neat part: this pool was removed from a previous client’s yard, rehabbed with fresh paint and epoxy, and installed by our team looking like it just rolled out of the factory! We dug with an extra 6-12 inches on each side for the pool plumber, laid sand for a cozy base, and backfilled. The before photos show bare dirt—now it’s a sparkling pool ready for summer splashes.
4. A Patio for Epic Hangouts
The backyard sloped off, so we had to build up the grade to create a smooth, level surface for a 40x40-foot patio (1,600 square feet)—perfect for poolside BBQs. We moved 26 cubic yards of dirt, laid 70 cubic yards of crushed stone at 4 inches deep, and sloped it for water runoff. We worked with the concrete crew to tweak the grade, and the after photos show a massive, sleek patio ready for summer hangs.

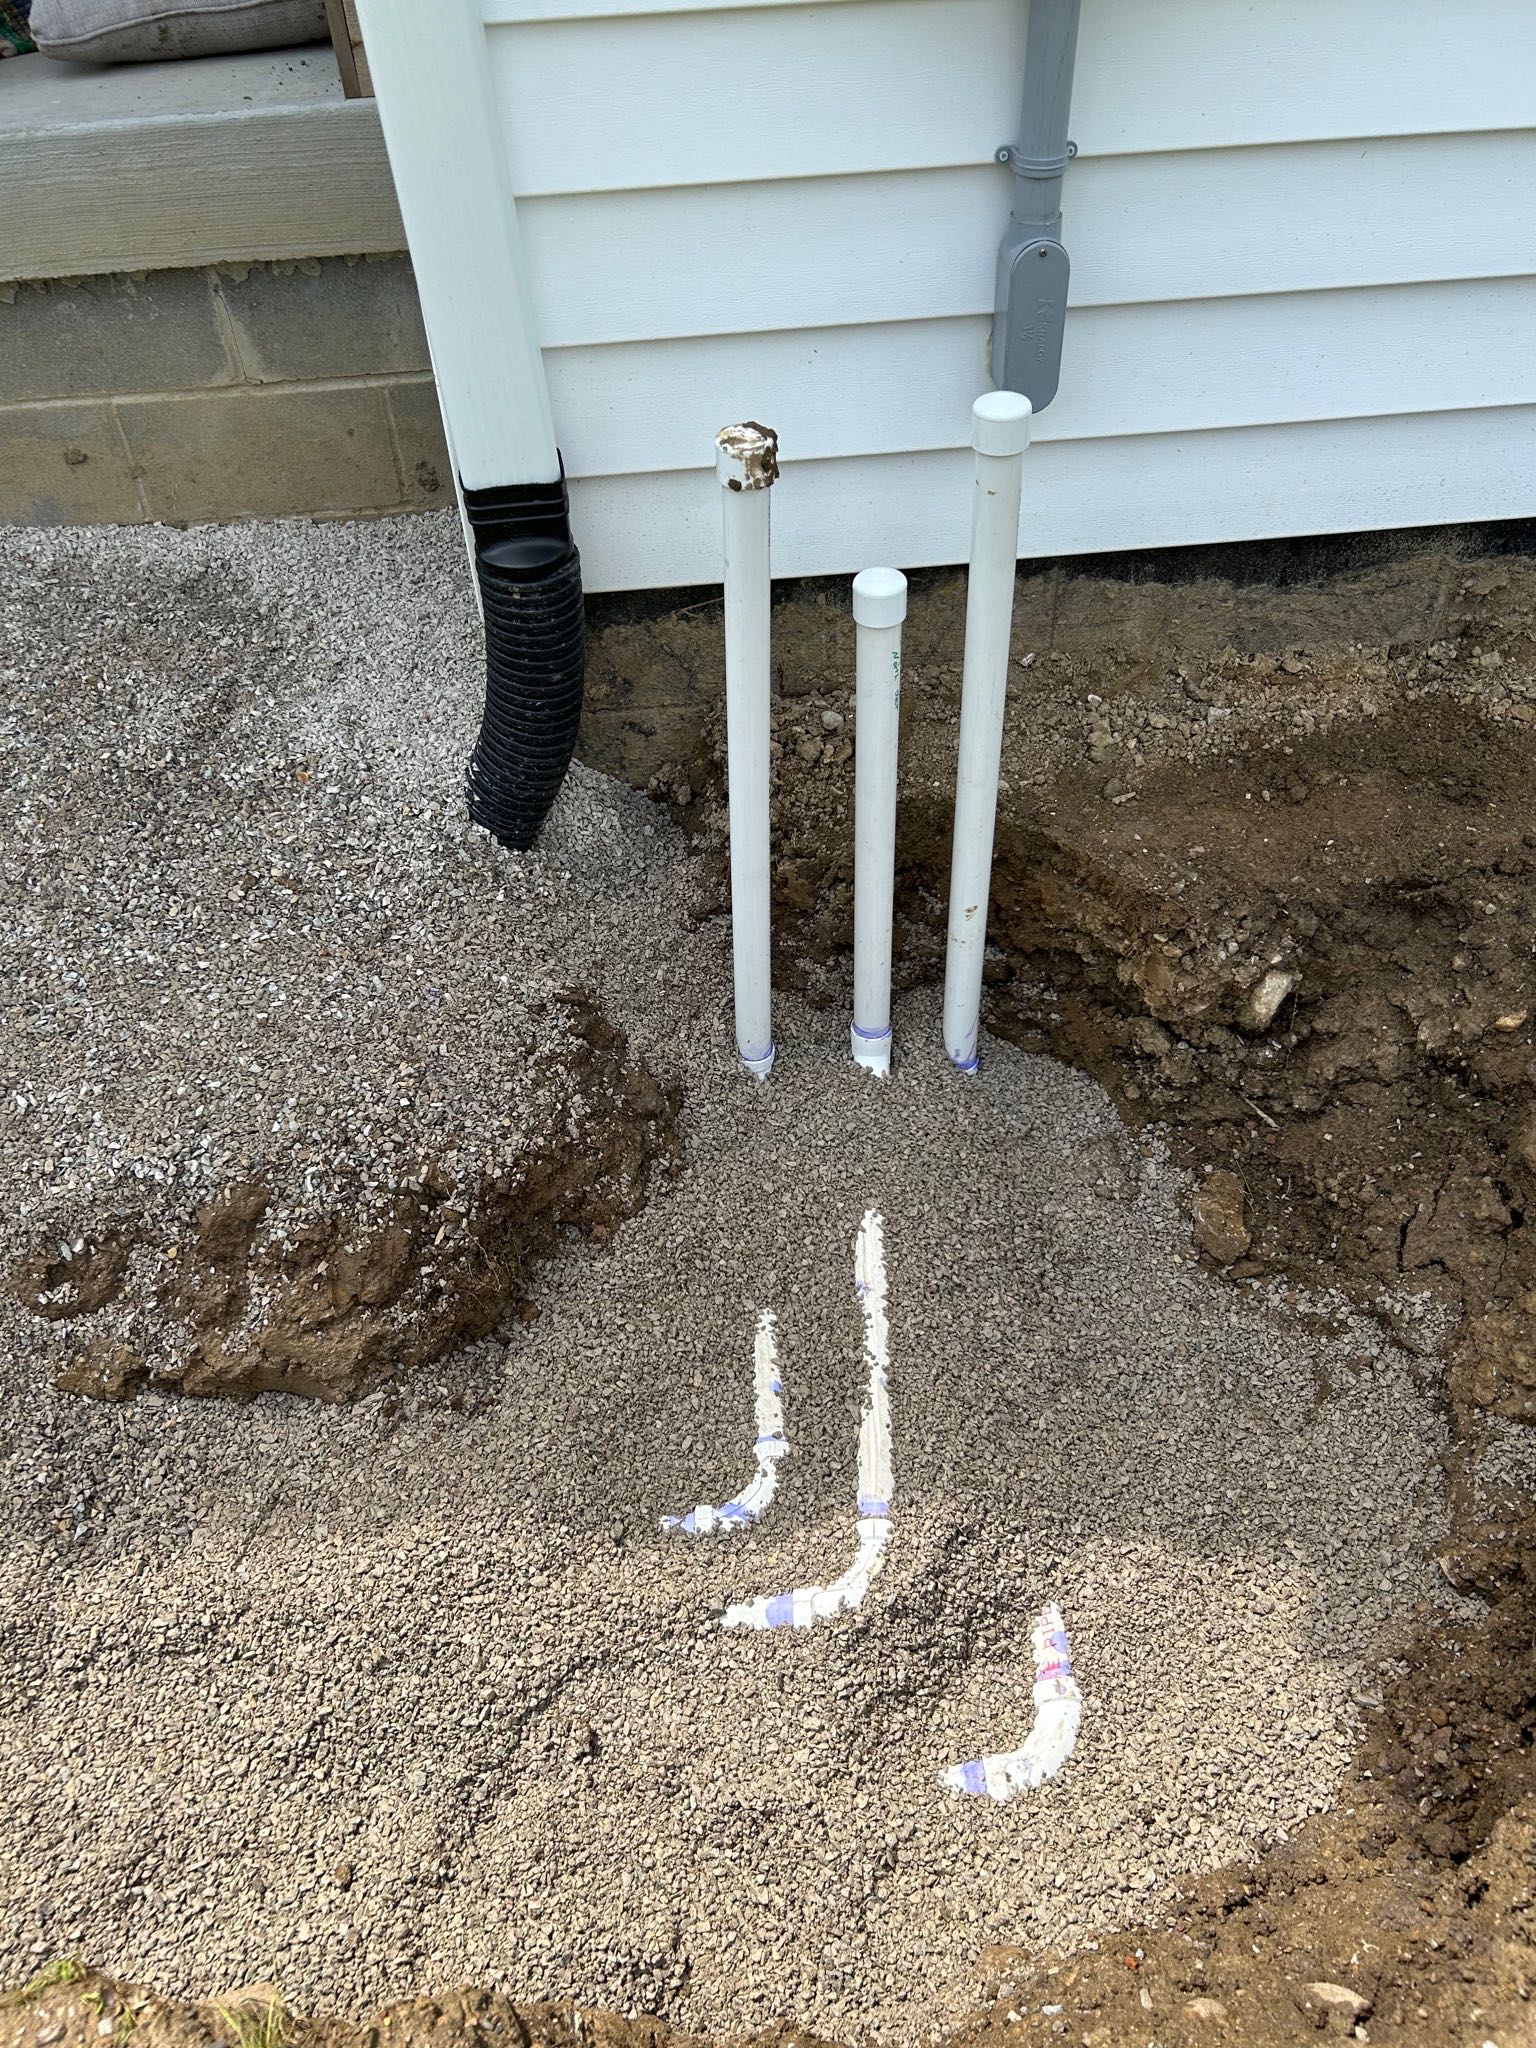
5. Plumbing Trench for Pool Plumbing
To keep the pool running smoothly, we dug a 24-inch deep, 12-inch wide trench from the pool to the equipment pad for plumbing, then filled it with pea gravel for protection. It’s hidden and rock-solid.

6. Equipment Pad Locked In
We leveled a spot for the equipment pad, graded just right for the concrete pour. It’s a small detail that keeps the pool gear humming.
7. Sturdy Backfill
We used 7 loads of fill dirt to pack around the sidewalks, pool, patio, and equipment pad, keeping everything steady. The before photos show uneven ground—now it’s a solid foundation.
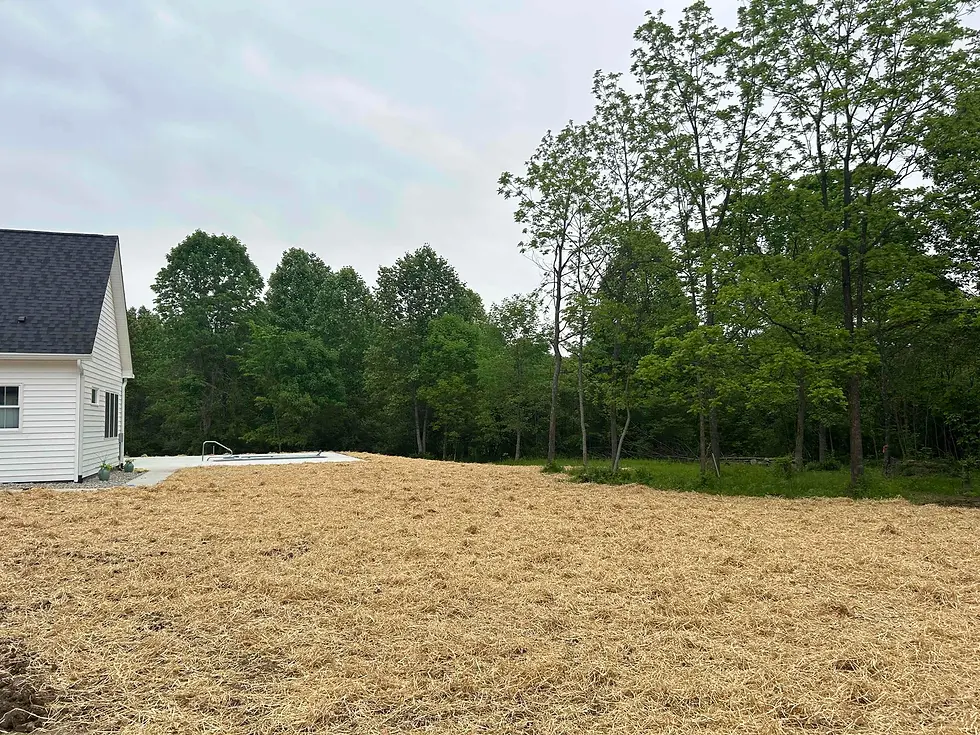
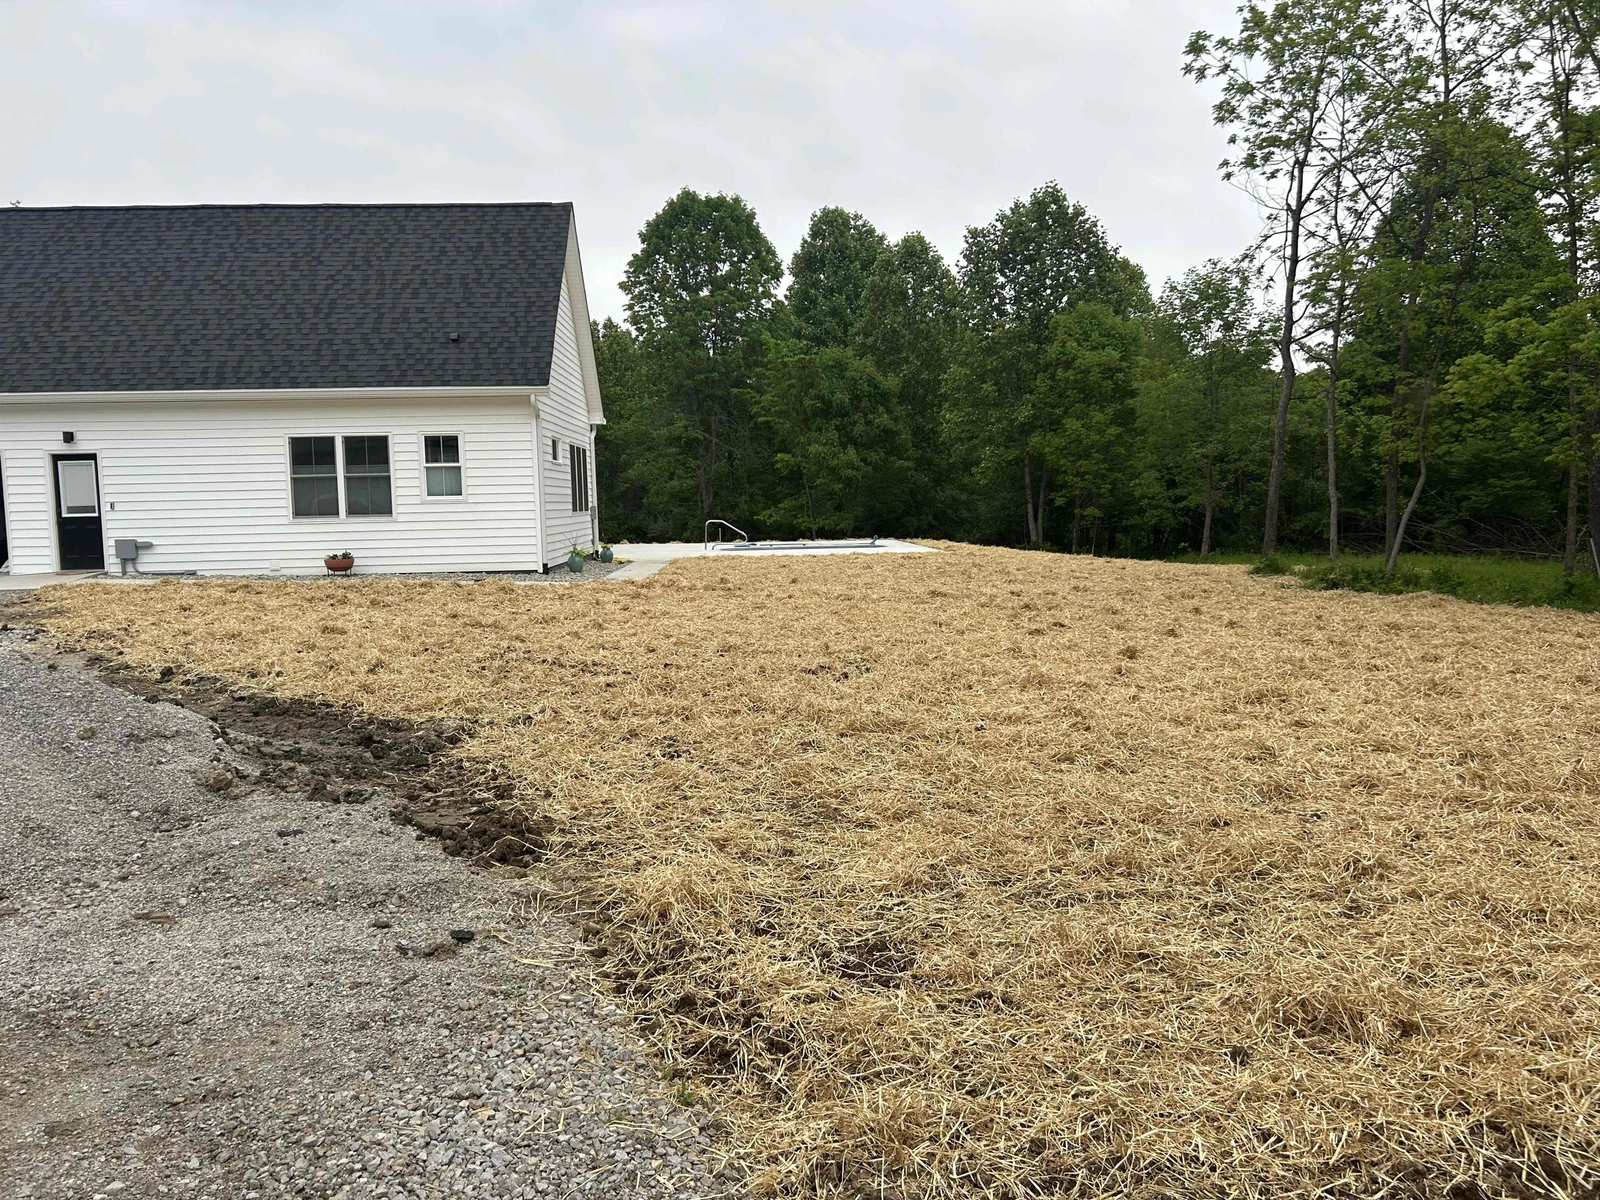
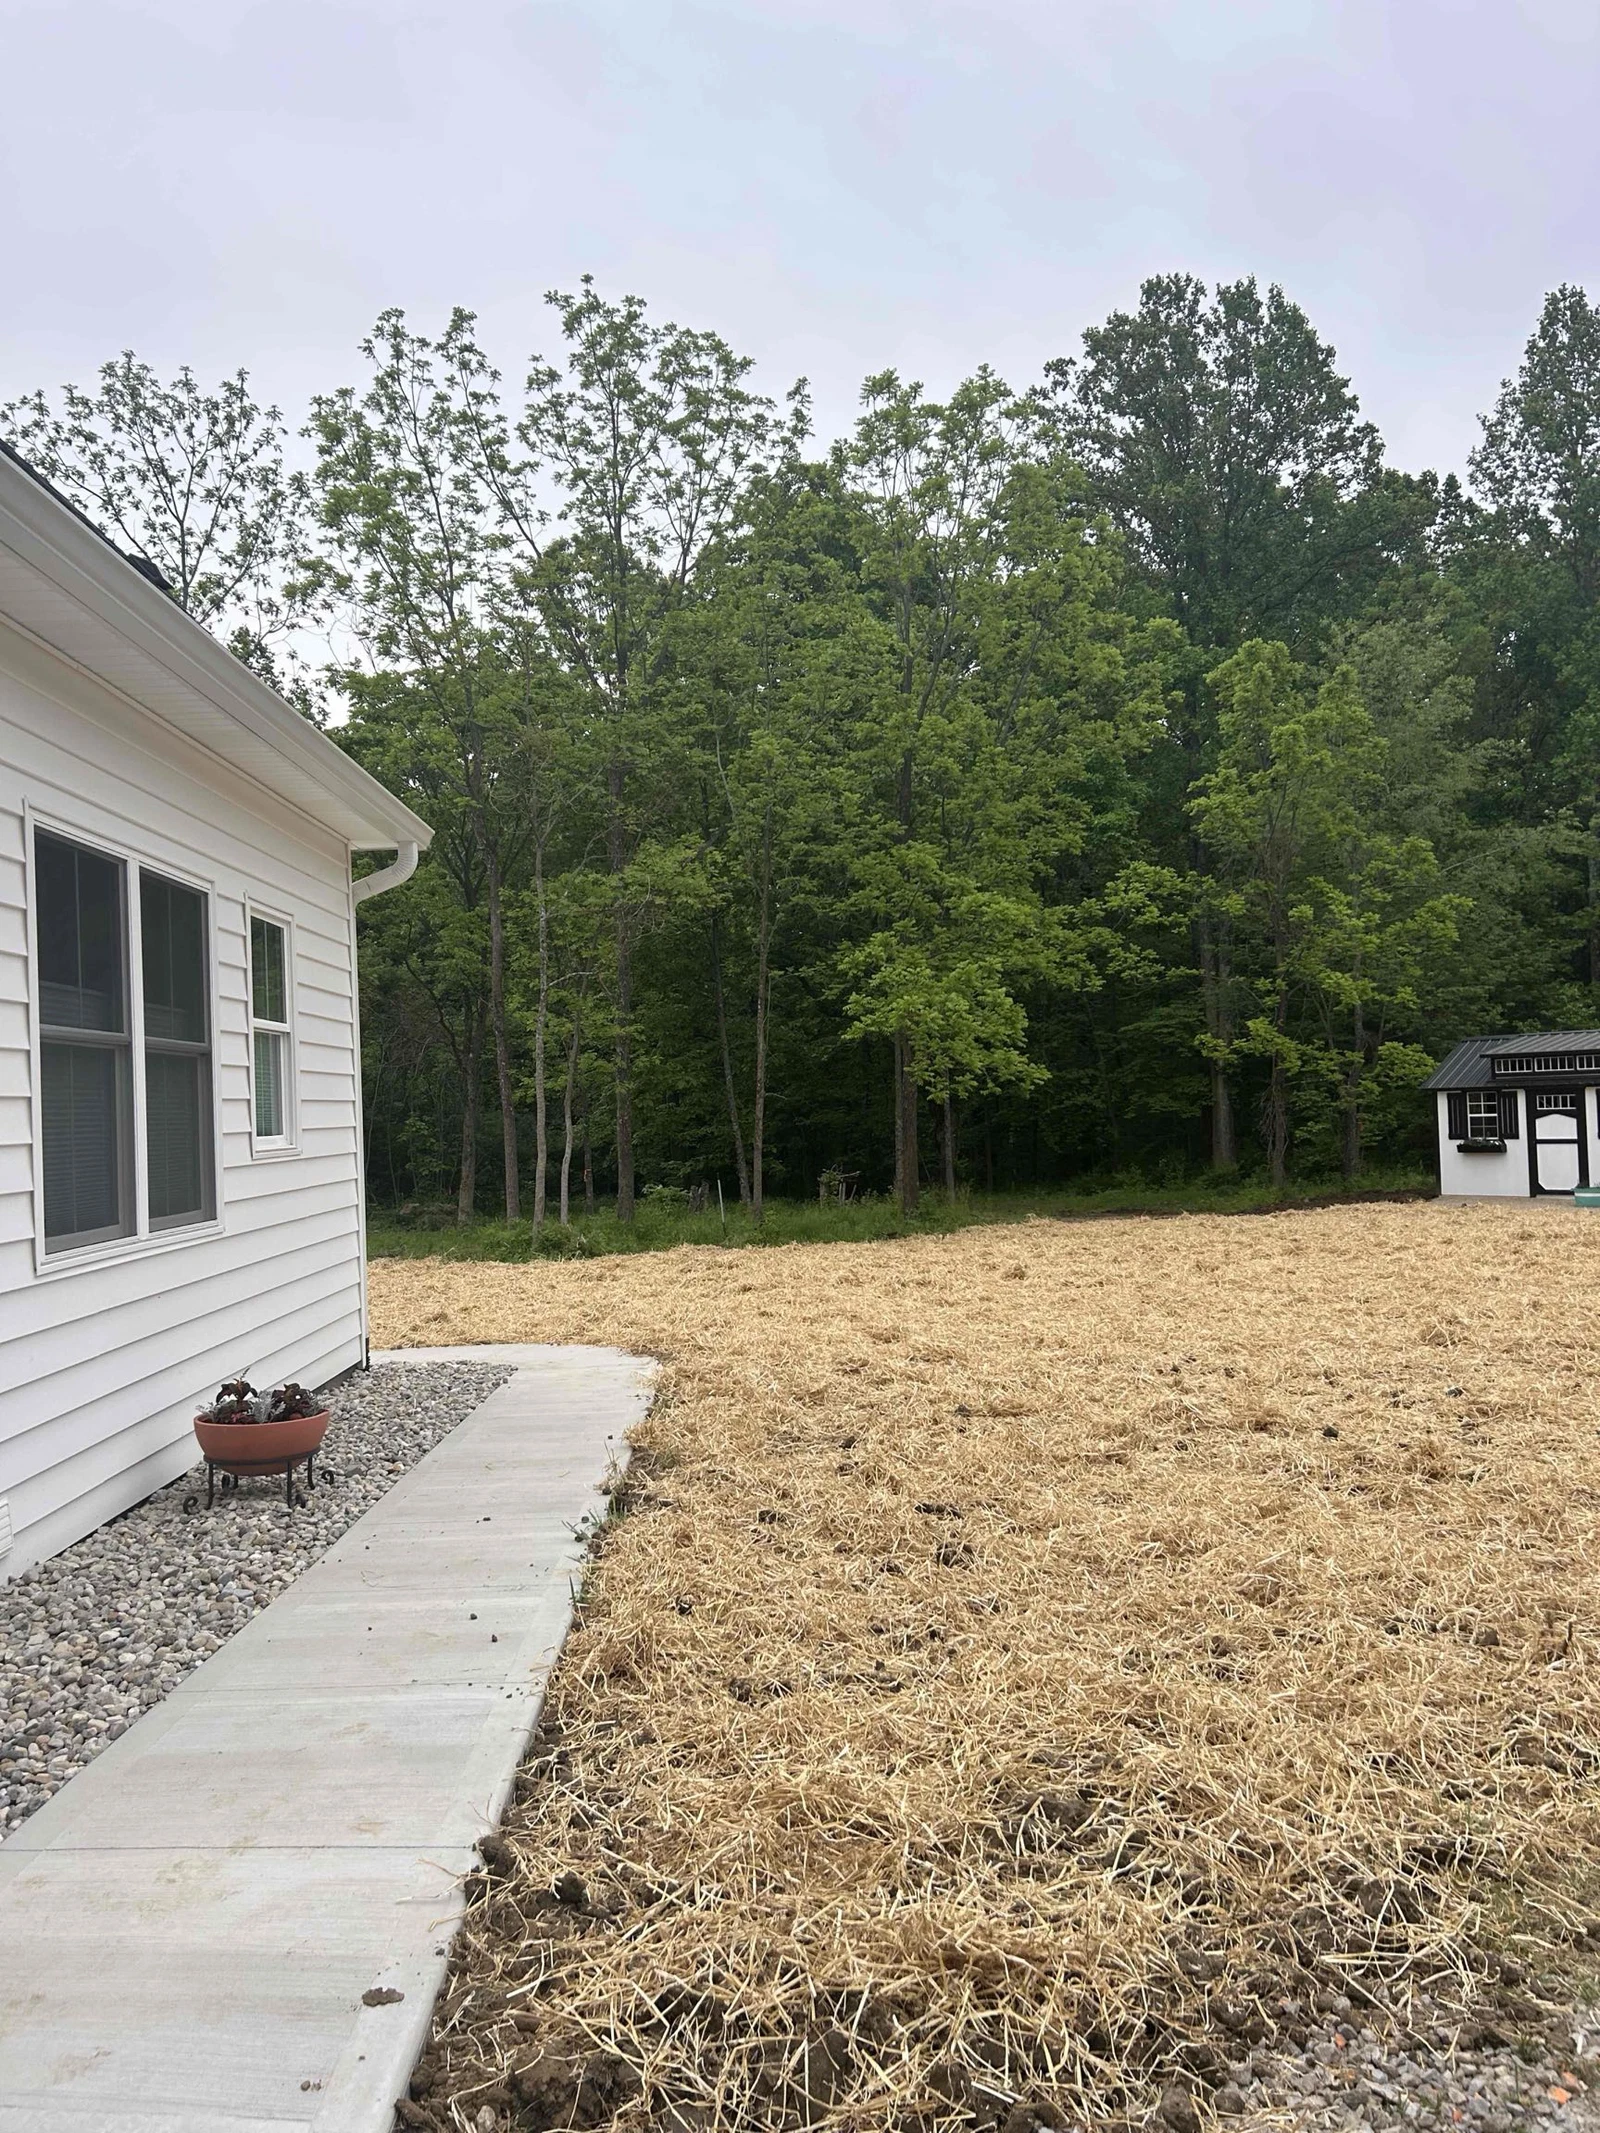
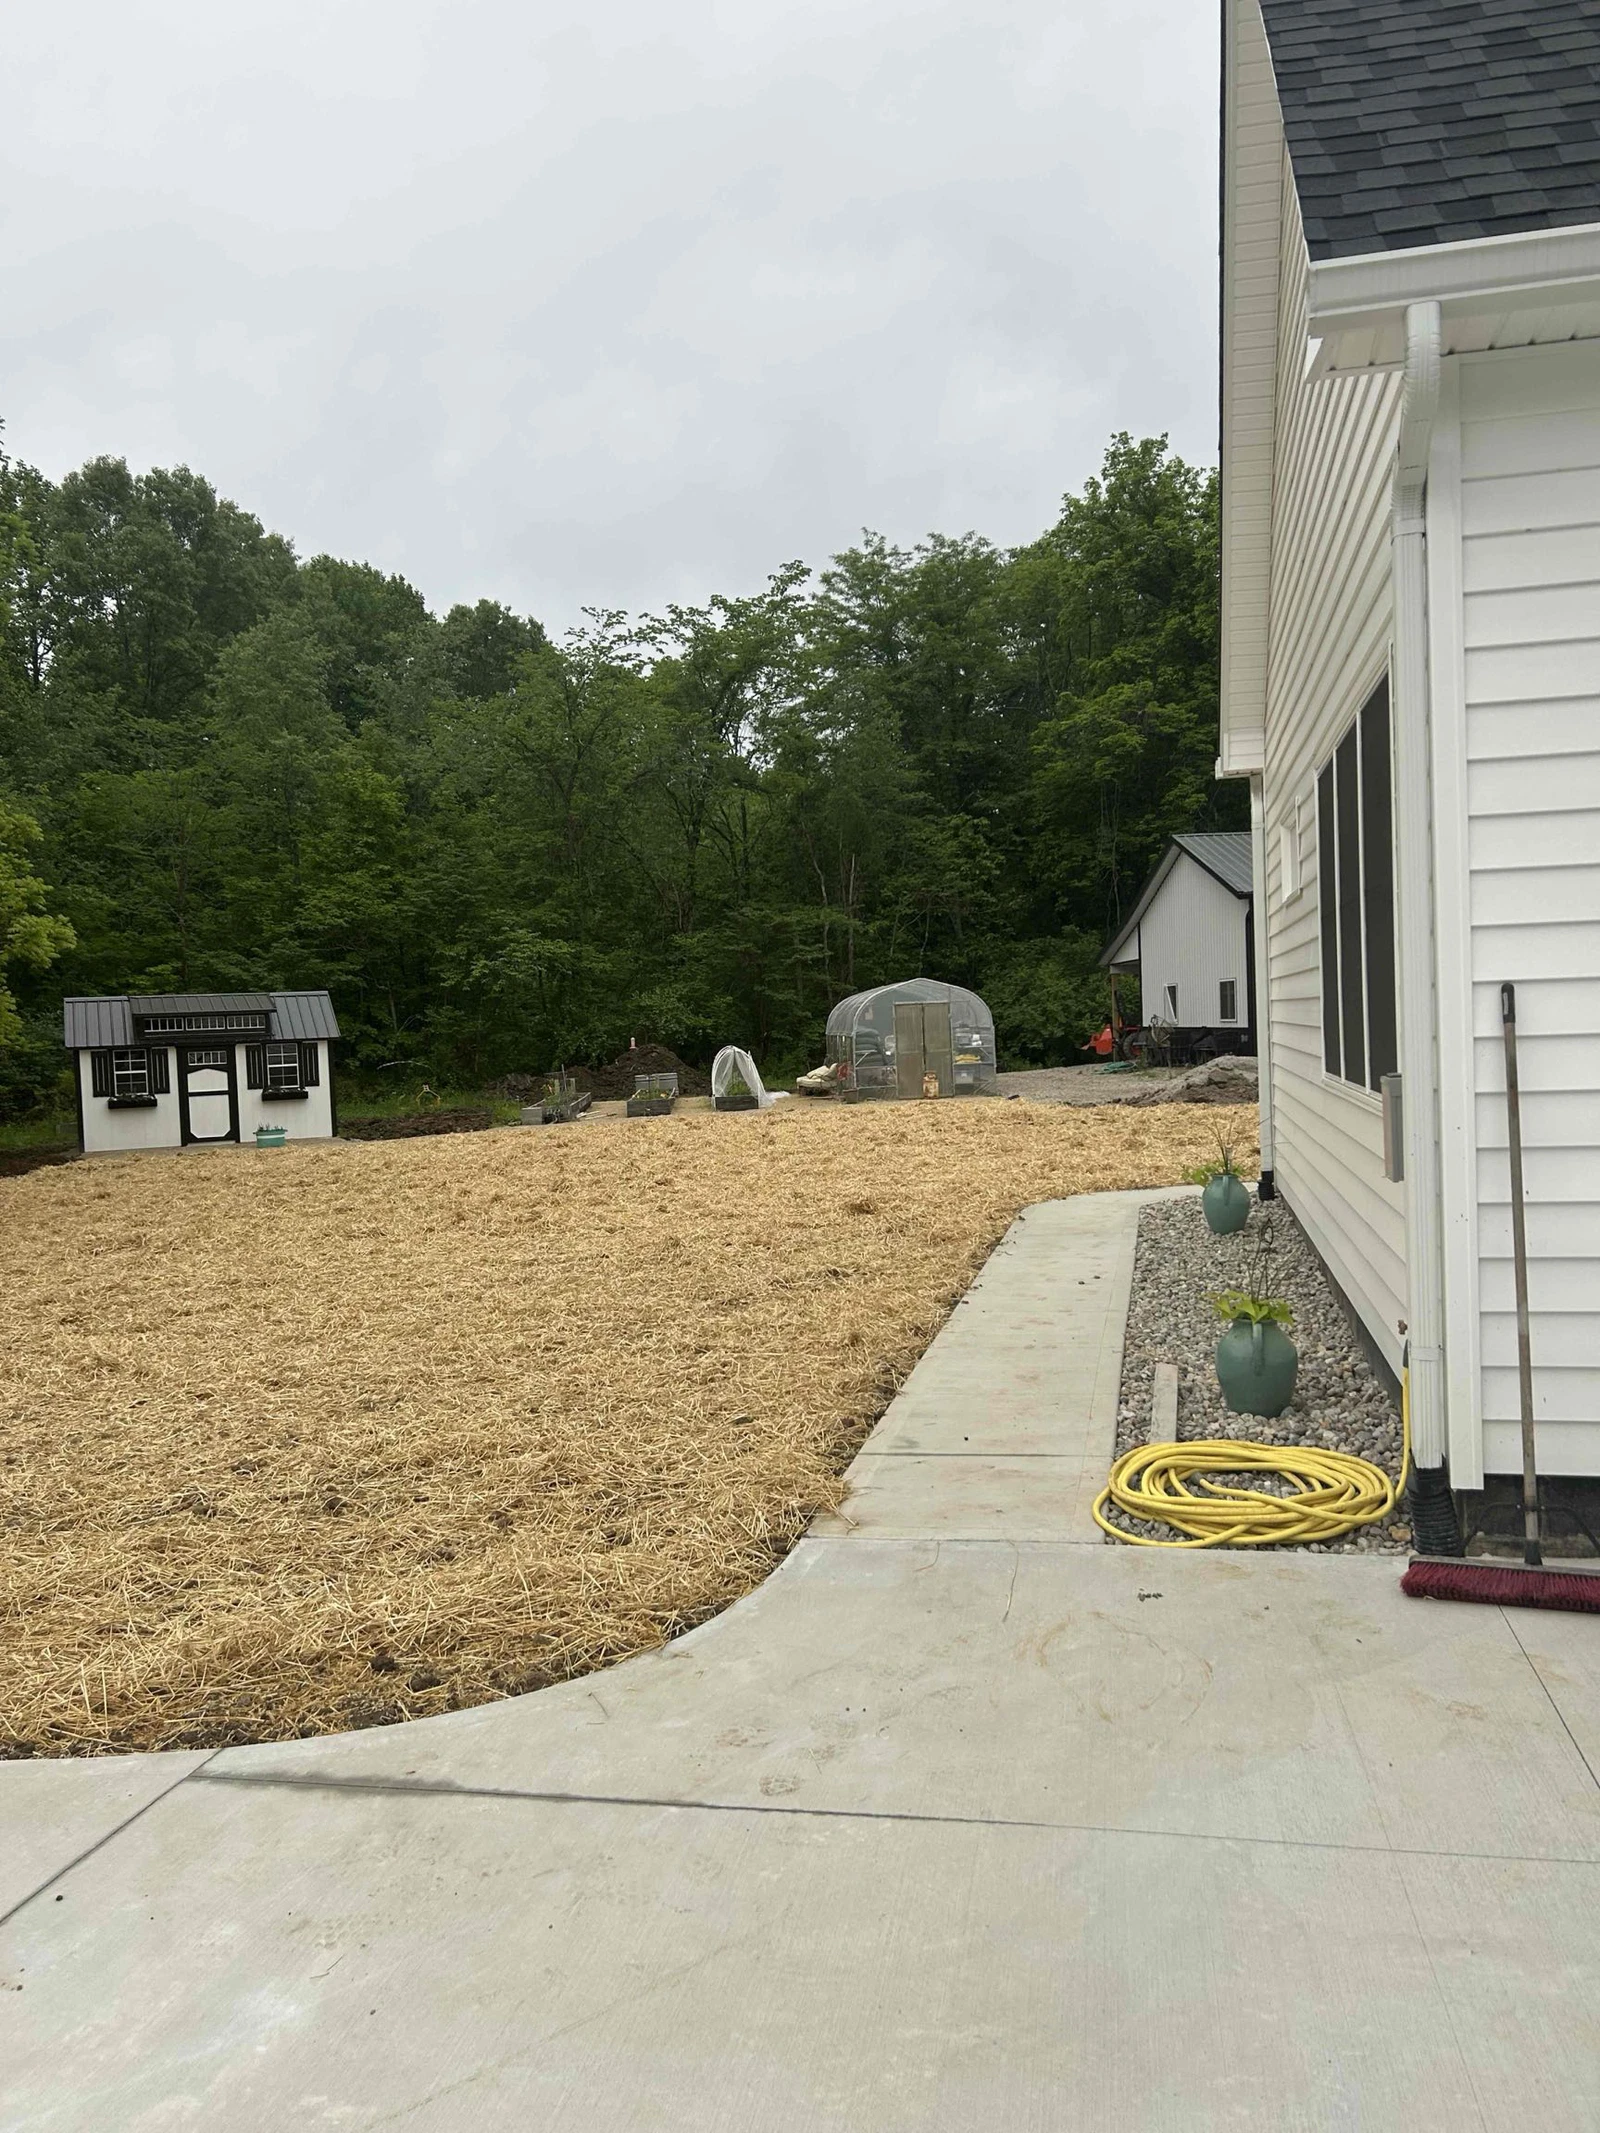
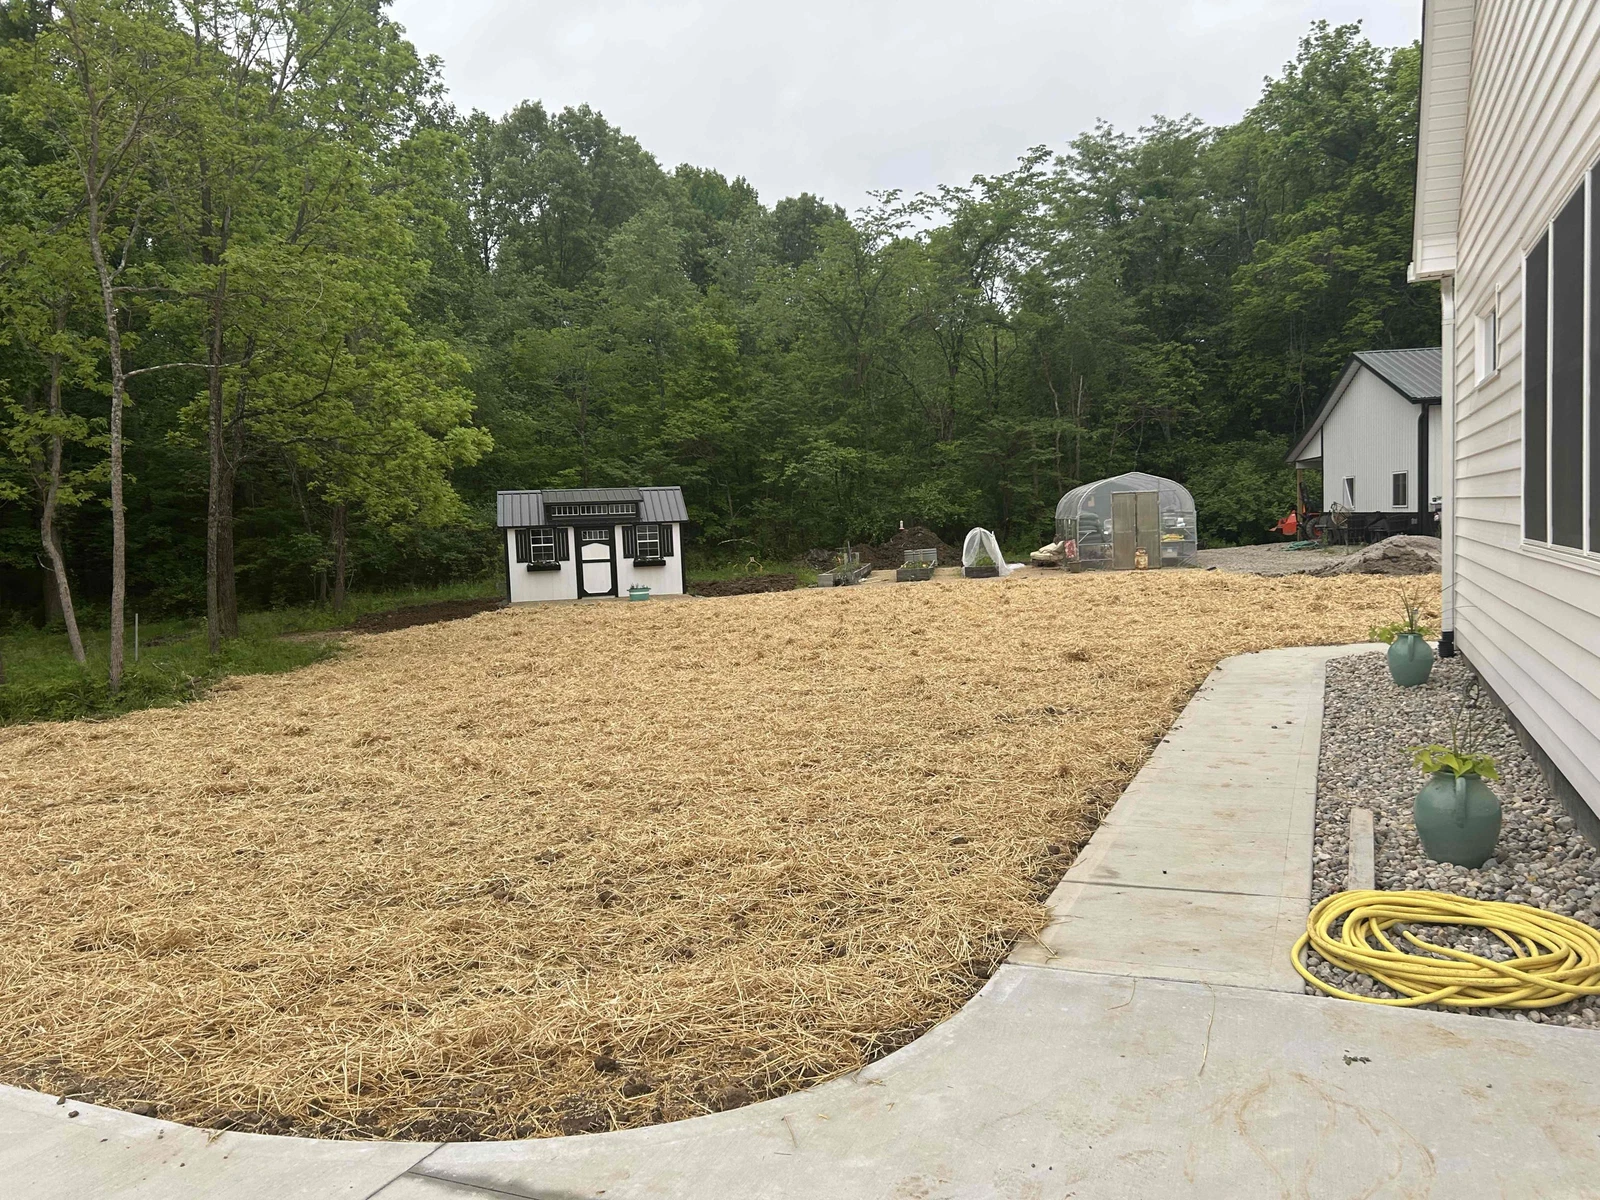
8. A Lush Lawn and Polished Flower Beds
For that green, welcoming vibe, we spread 80 tons of topsoil (that’s 10 total triaxle loads!) over the yard, using a Rake-N-Ator to pick out stones. We finished with seed and straw for a soon to be lush lawn ready for picnics or playtime. To give the flower beds a sharp, tidy look, we placed landscape stone, adding a pop of style that ties the whole yard together. The after photos show a vibrant, polished outdoor space!
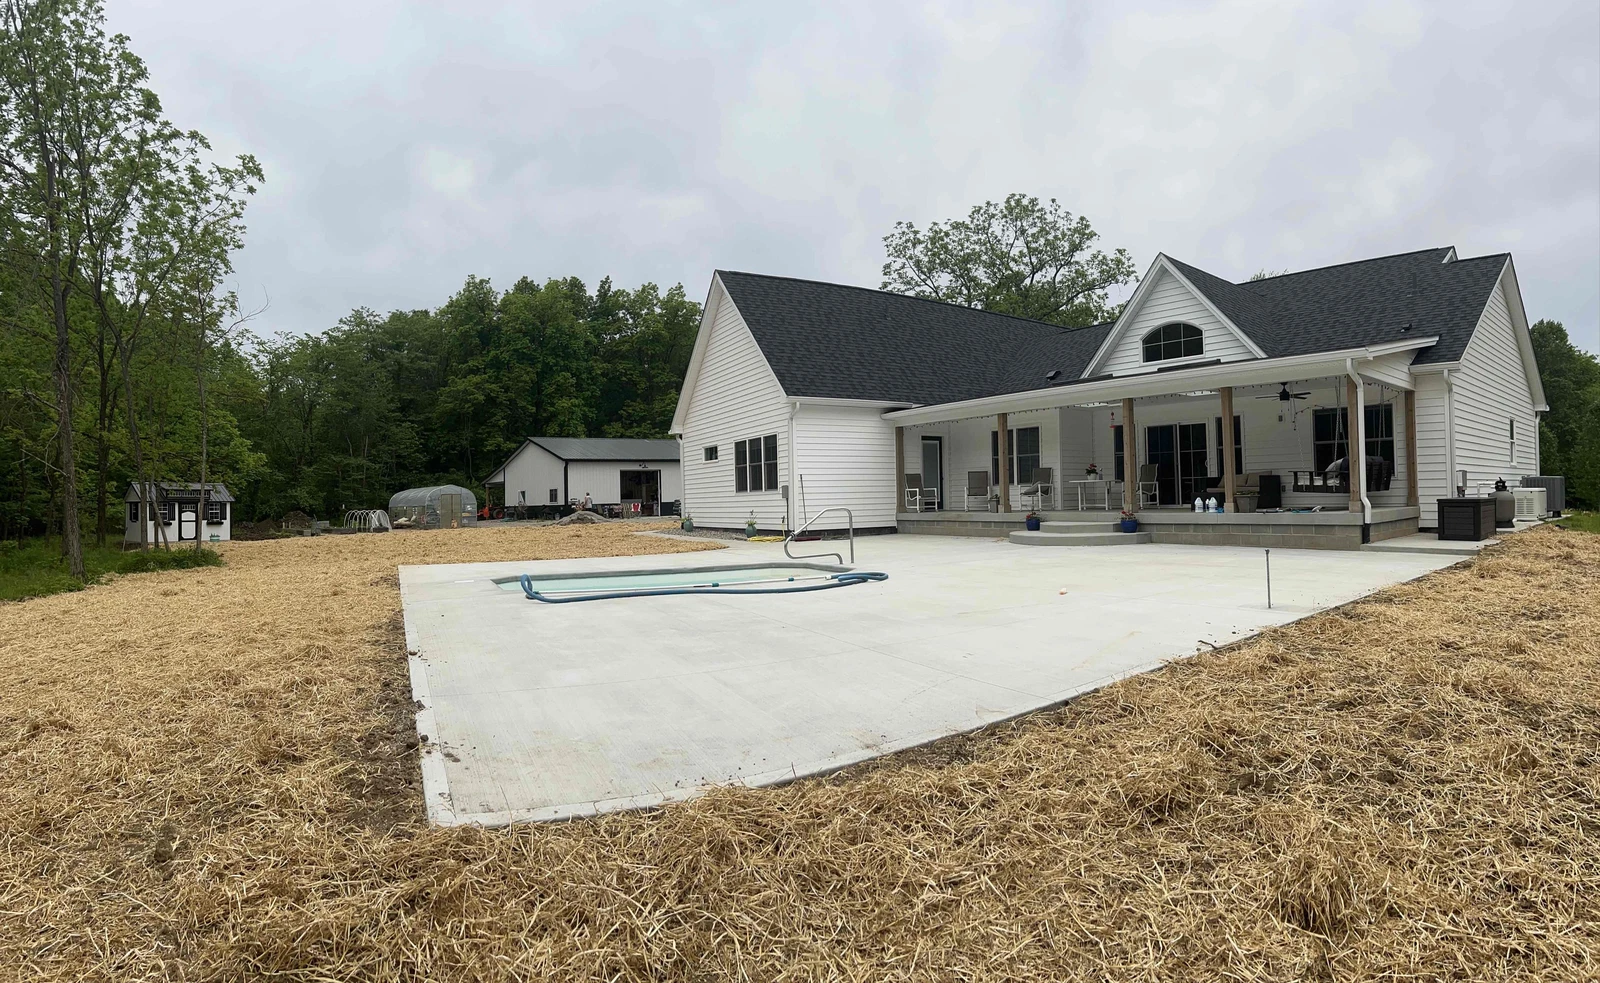
Why HCE’s Your Backyard MVP
This project shows what HCE is all about: turning ideas (and even recycled pools!) into awesome outdoor spaces. Homeowners, imagine your dream pool—new or rehabbed—ready for summer. Builders, we’re your go-to for excavation, grading, and prep that syncs perfectly with concrete and pool pros. The before and after photos prove it: we took a tired yard and made it a showstopper!
Ready to upgrade your front and backyard? Reach out to HCE, and let’s create something amazing. Check out the before and after pics below to see the transformation!


Comments